💻 Frontend
[Next 13] Next13 + cloudflare + PWA를 이용한 초기세팅
date
Sep 24, 2023
slug
nextjs-with-cloudflare
author
status
Public
tags
Next.js
CI/CD
Cloudflare
PWA
Blog
og
summary
Next.js 13을 cloudflare로 배포 및 PWA를 적용해보자
type
Post
thumbnail
category
💻 Frontend
updatedAt
Oct 4, 2023 08:35 AM
언어
들어가기 전
교내에서 열린 대회에 참여하여 AI를 이용한 서비스를 기획/개발중에 있다. 이번 포스팅에서는 프로젝트 초기 세팅(+
PWA)과 더불어 cloudflare를 이용해 배포하기까지의 과정을 기록할 예정이다.우선 Next 부터 설치
사실 Next 공식문서에 너무 잘 나와있어서 굳~이 글로 쓸 필요는 없을것 같다.


기본 세팅에서는 패키지 매니저가
npm으로 되어 있는데 나는 package-lock.json을 지우고 pnpm으로 설치해줬다. 물론 몇명이서 하는 프로젝트이다 보니 크기가 작아 스펙타클한 효능(?)을 못느끼겠지만 그래도 2~3초 정도 빠르다는 점에서 굳이 안바꿀 이유는 없었다. yarn은 업데이트가 안되고 있다고 해서 안쓰려고 하는 중이다.cloudflare에 배포
나는 우선 배포부터 하고 보는 스타일이여서 이걸 두번째 단계로 넣었다.
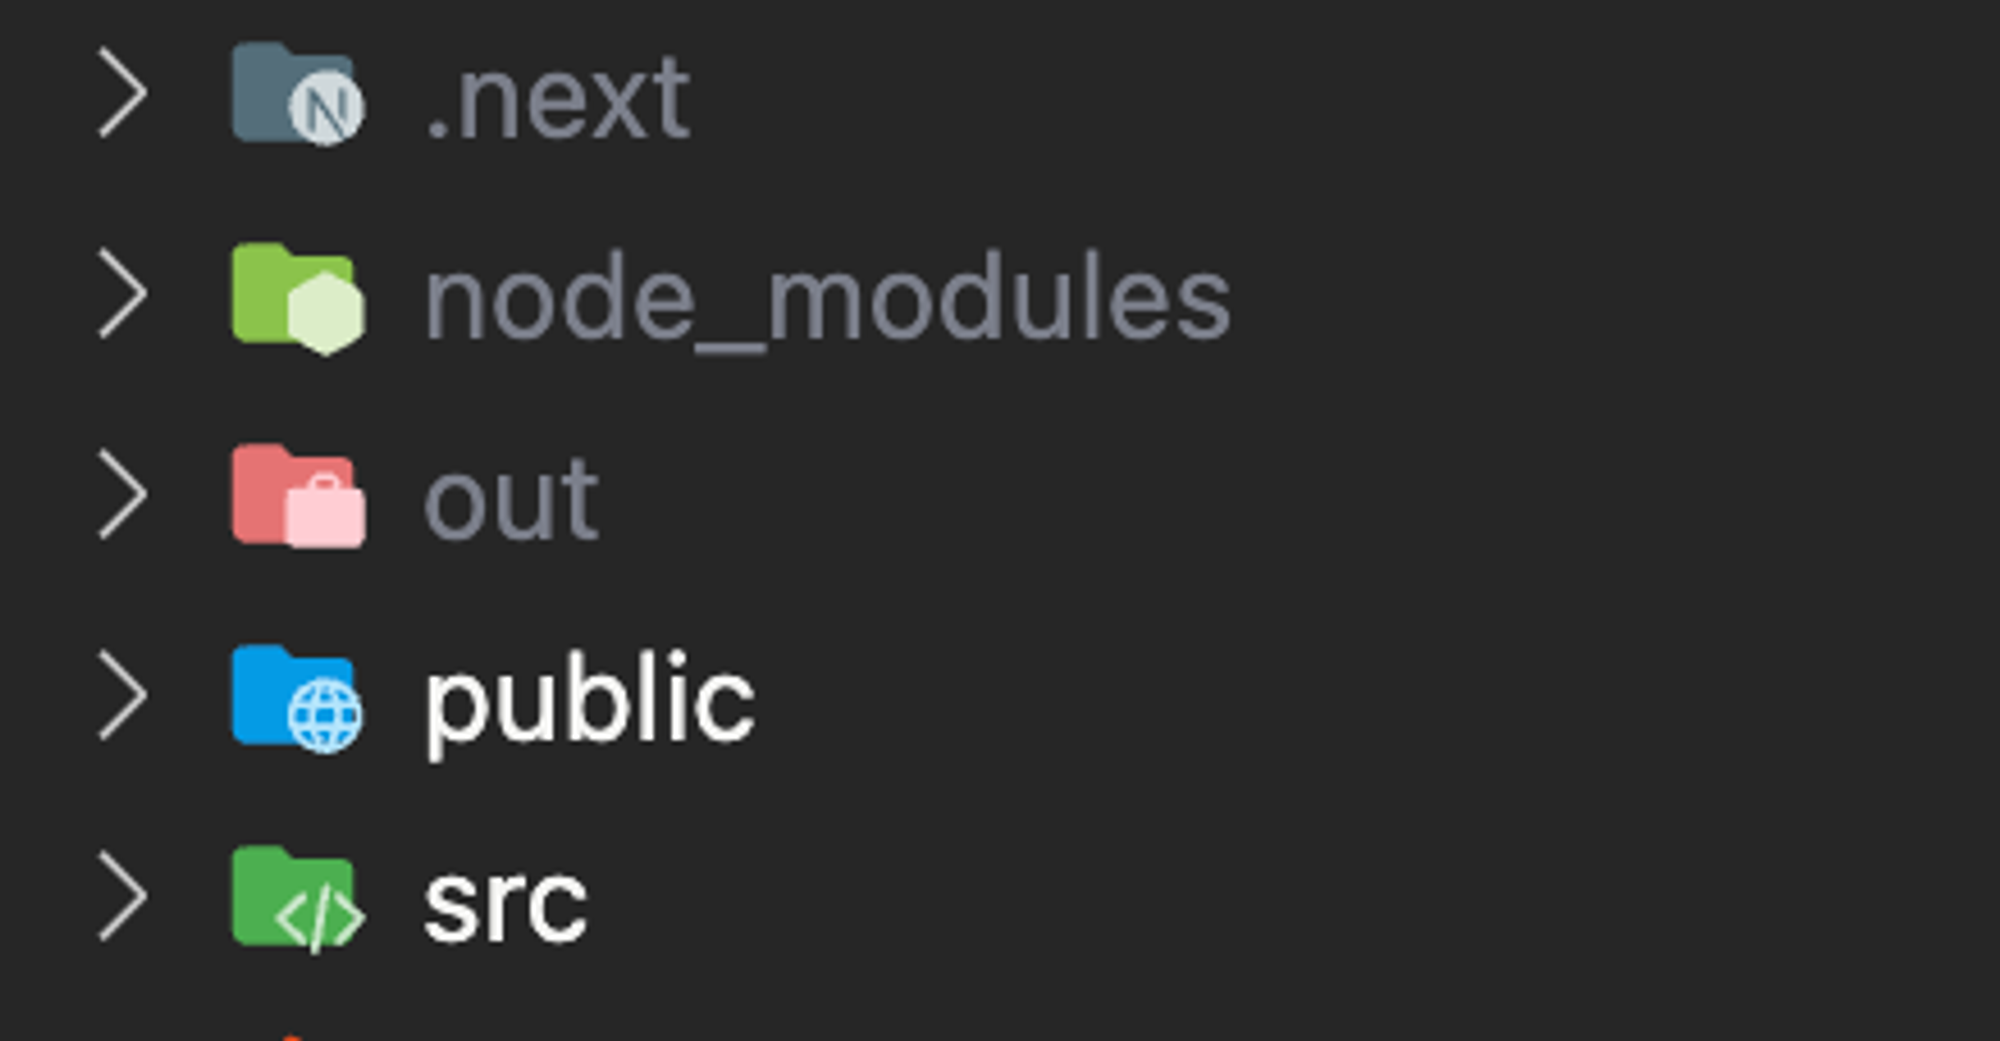
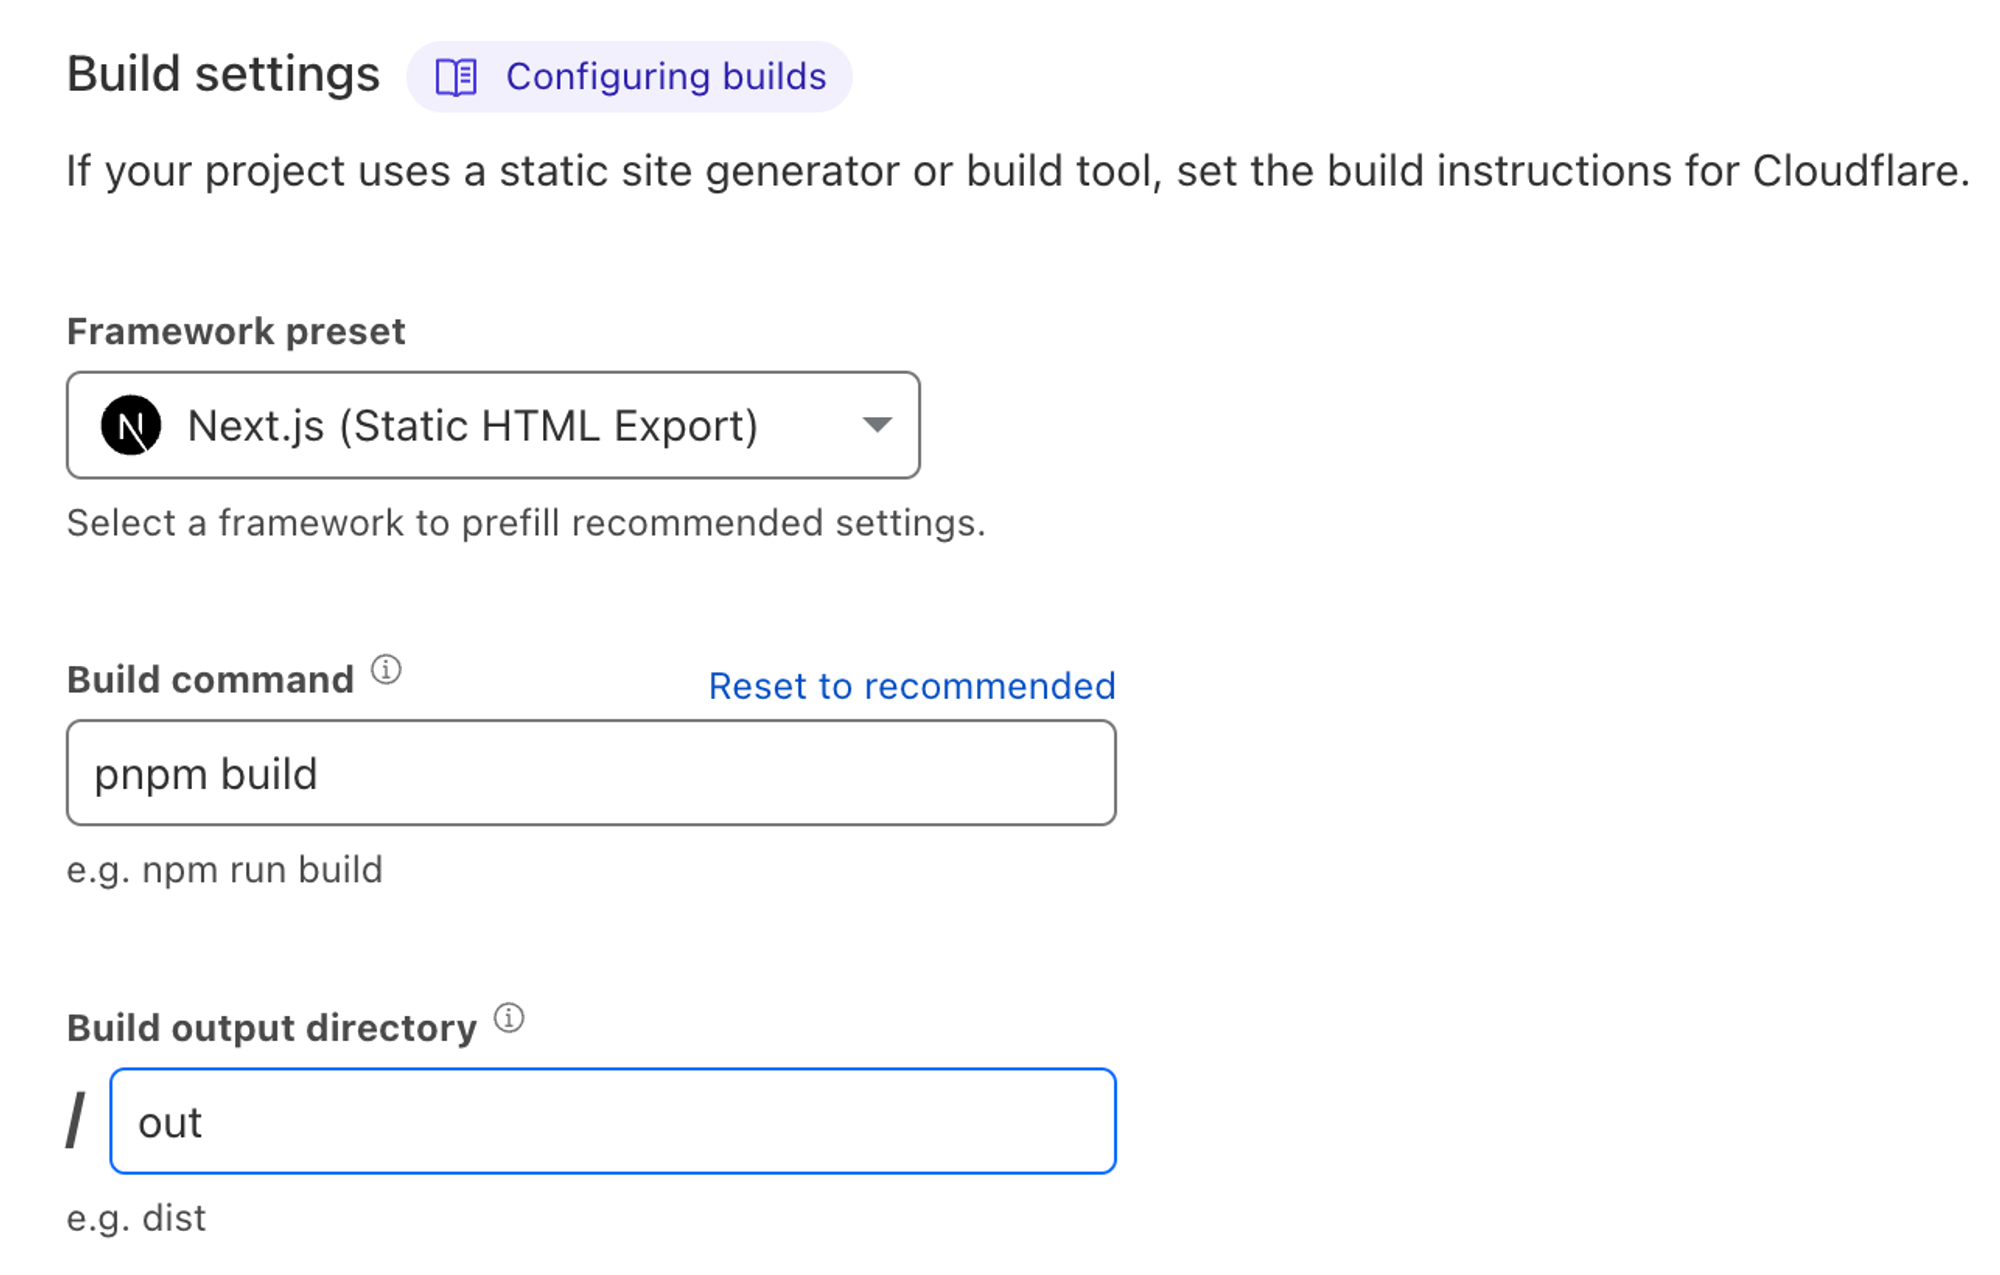
next.config.js에 있는 output 추가 (static site로 배포할 경우)
const nextConfig = {
  output: 'export'
}
위처럼 코드를 수정한 후 pnpm build를 하면 아래 사진처럼 out 폴더에 정적 html이 생성됨을 확인할 수 있다.
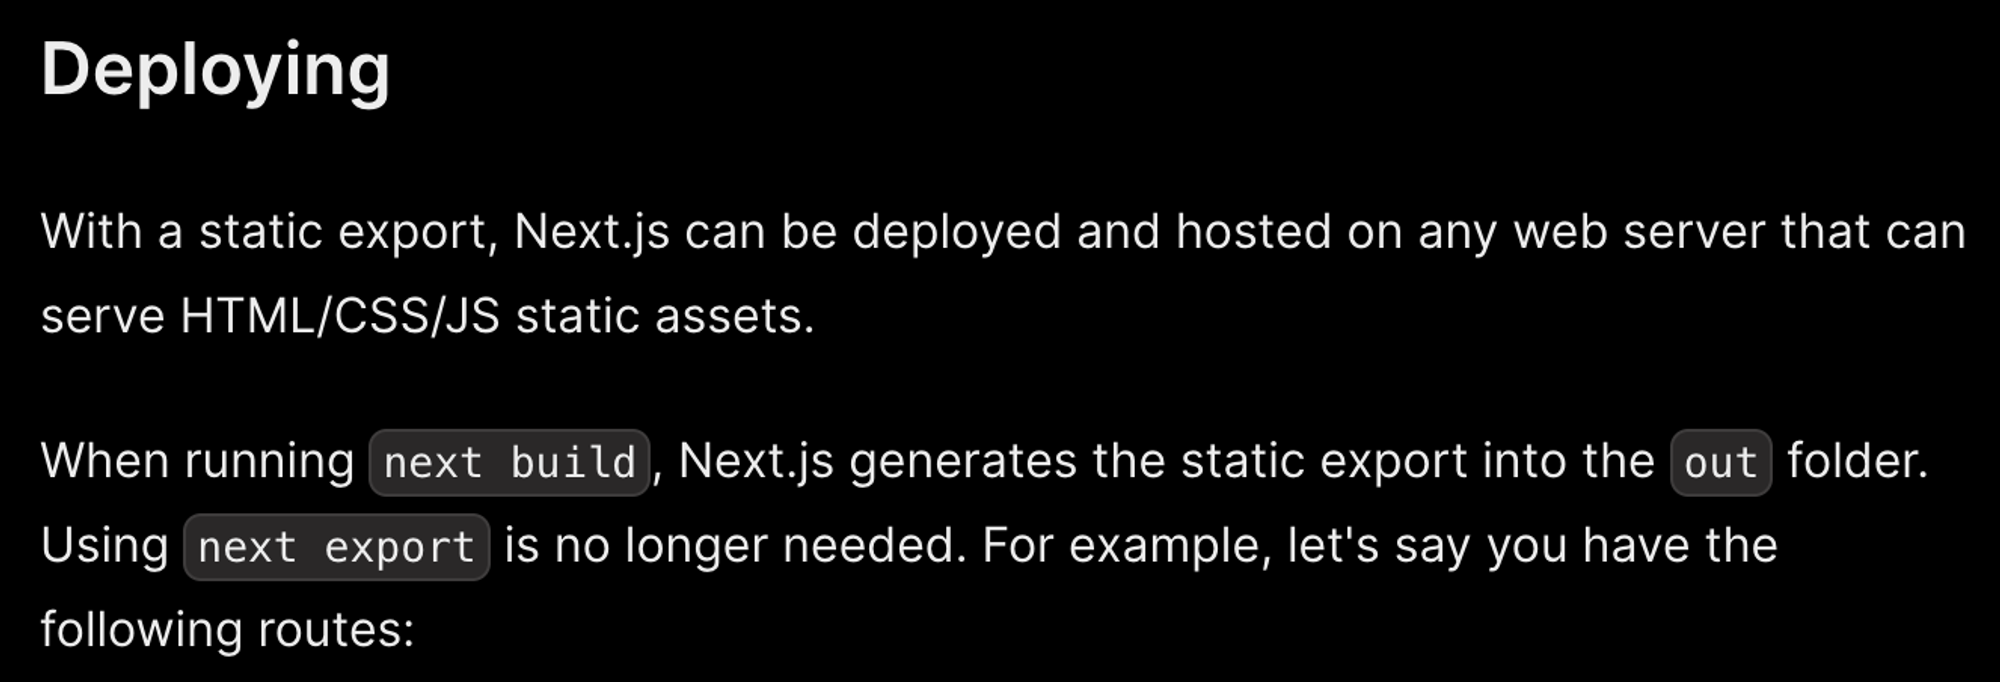
cf) 원래 예전에는 package.json에서 script도 변경해줬어야 했는데(next build && next export) Next13에서는 변경된듯 하다.
- cloudflare 페이지로 이동
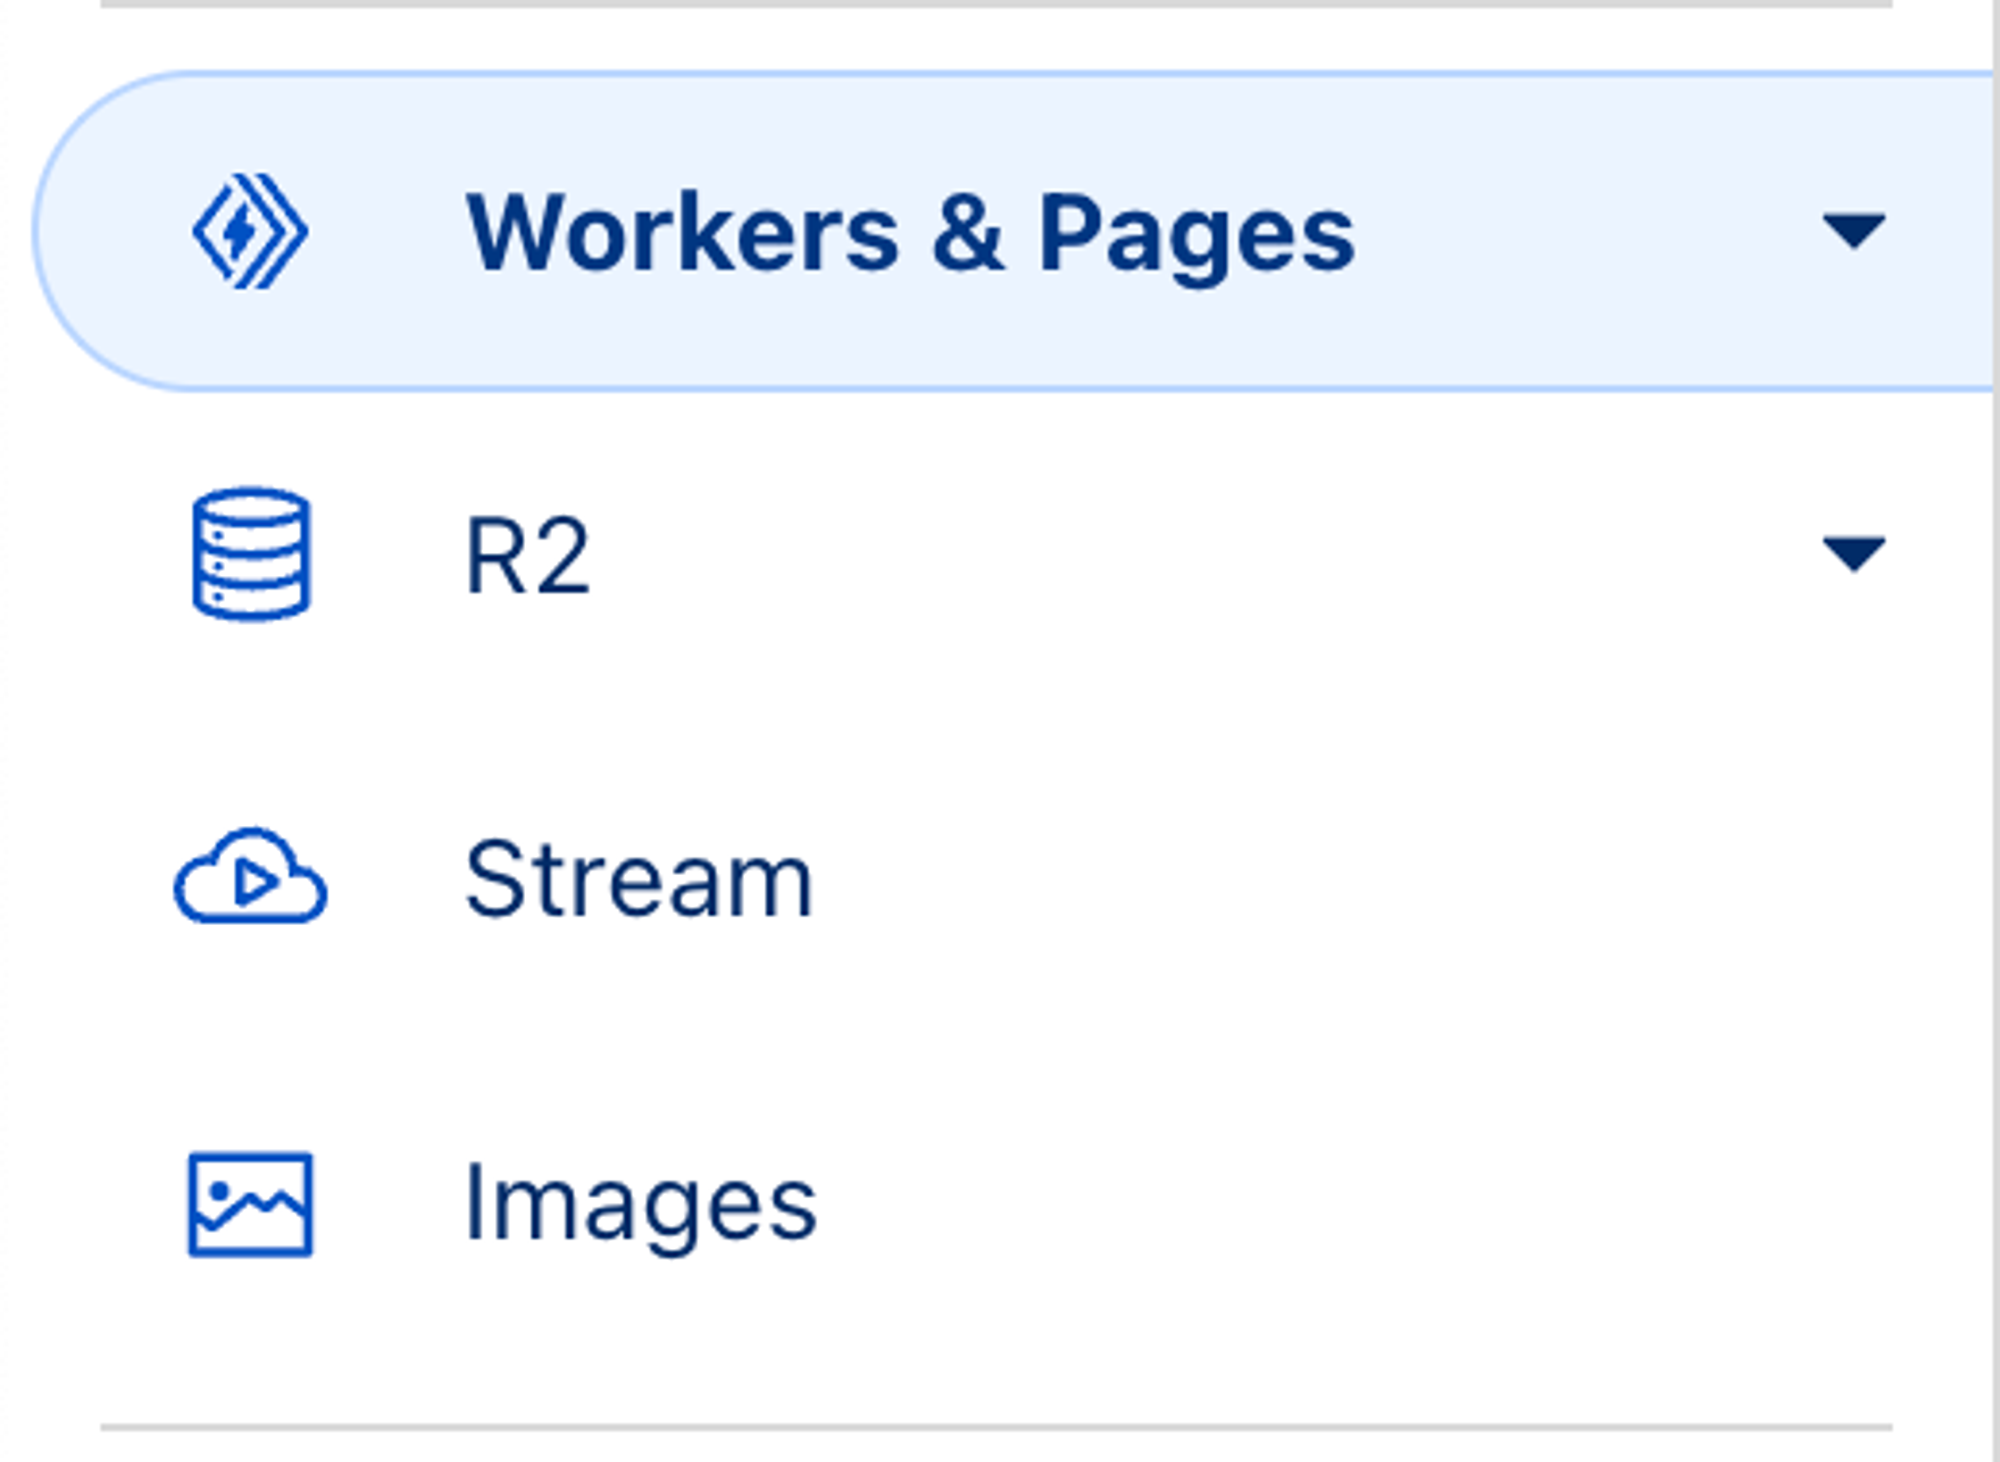
회원가입 & 로그인 후, Workers & Pages 탭을 클릭
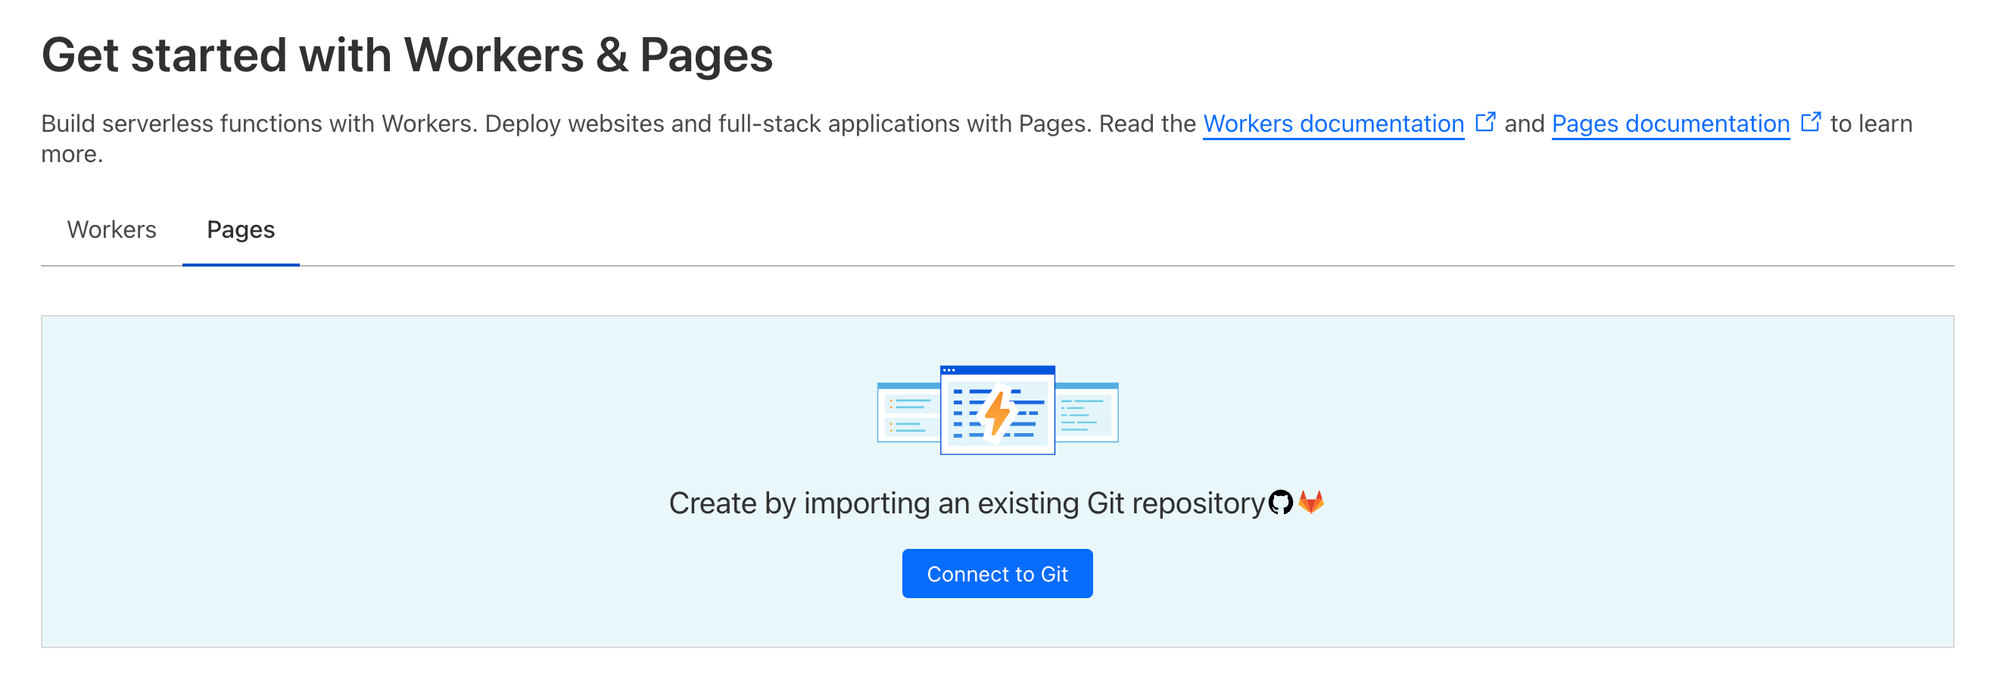
여기에 있는 Pages 탭에서 Connect to Git을 클릭
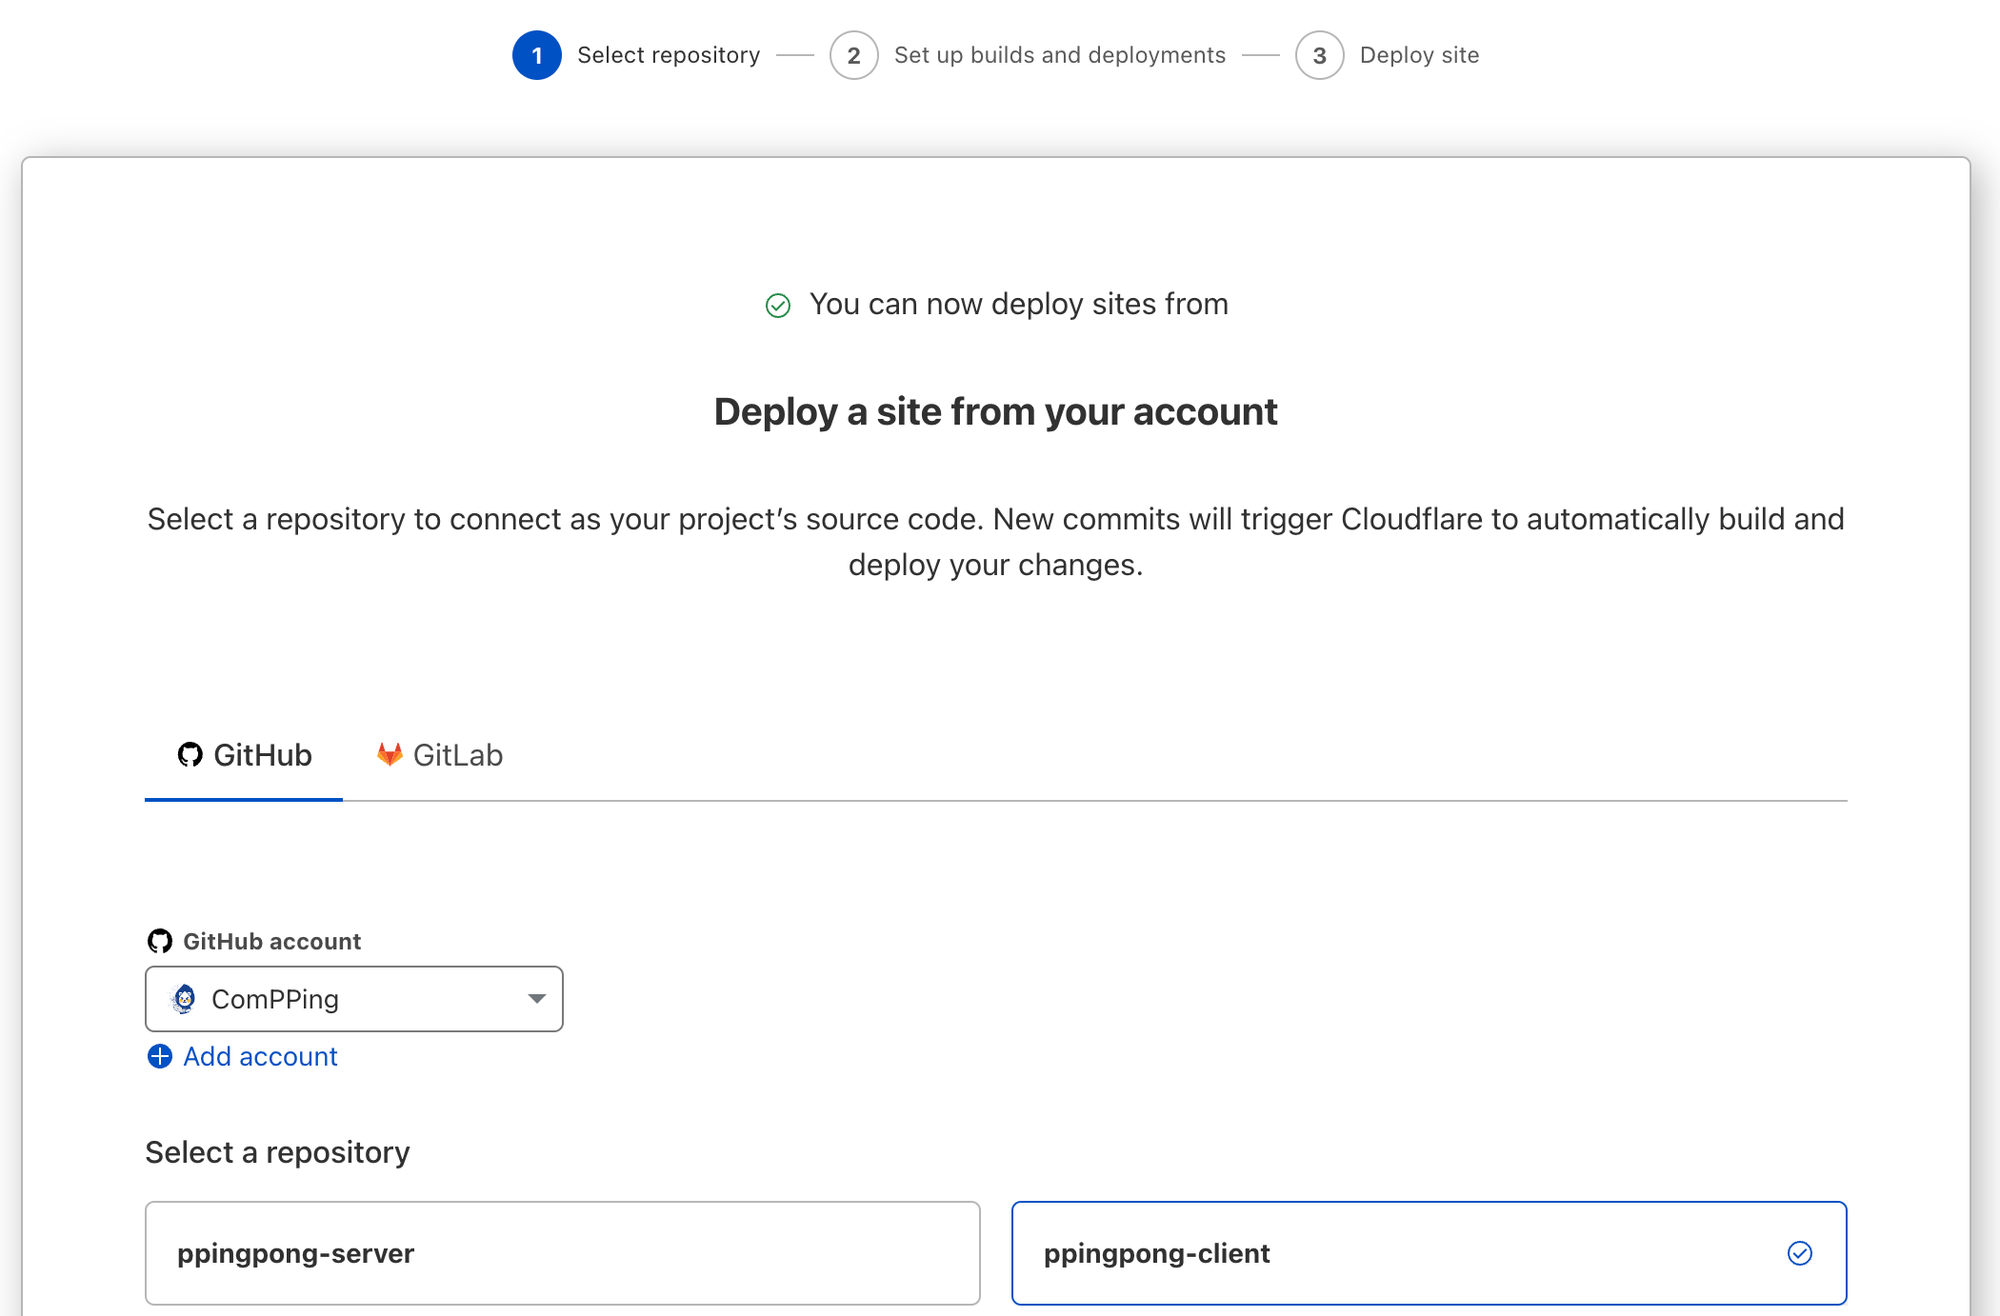
github 연결 해주고 원하는 레포를 선택한다.
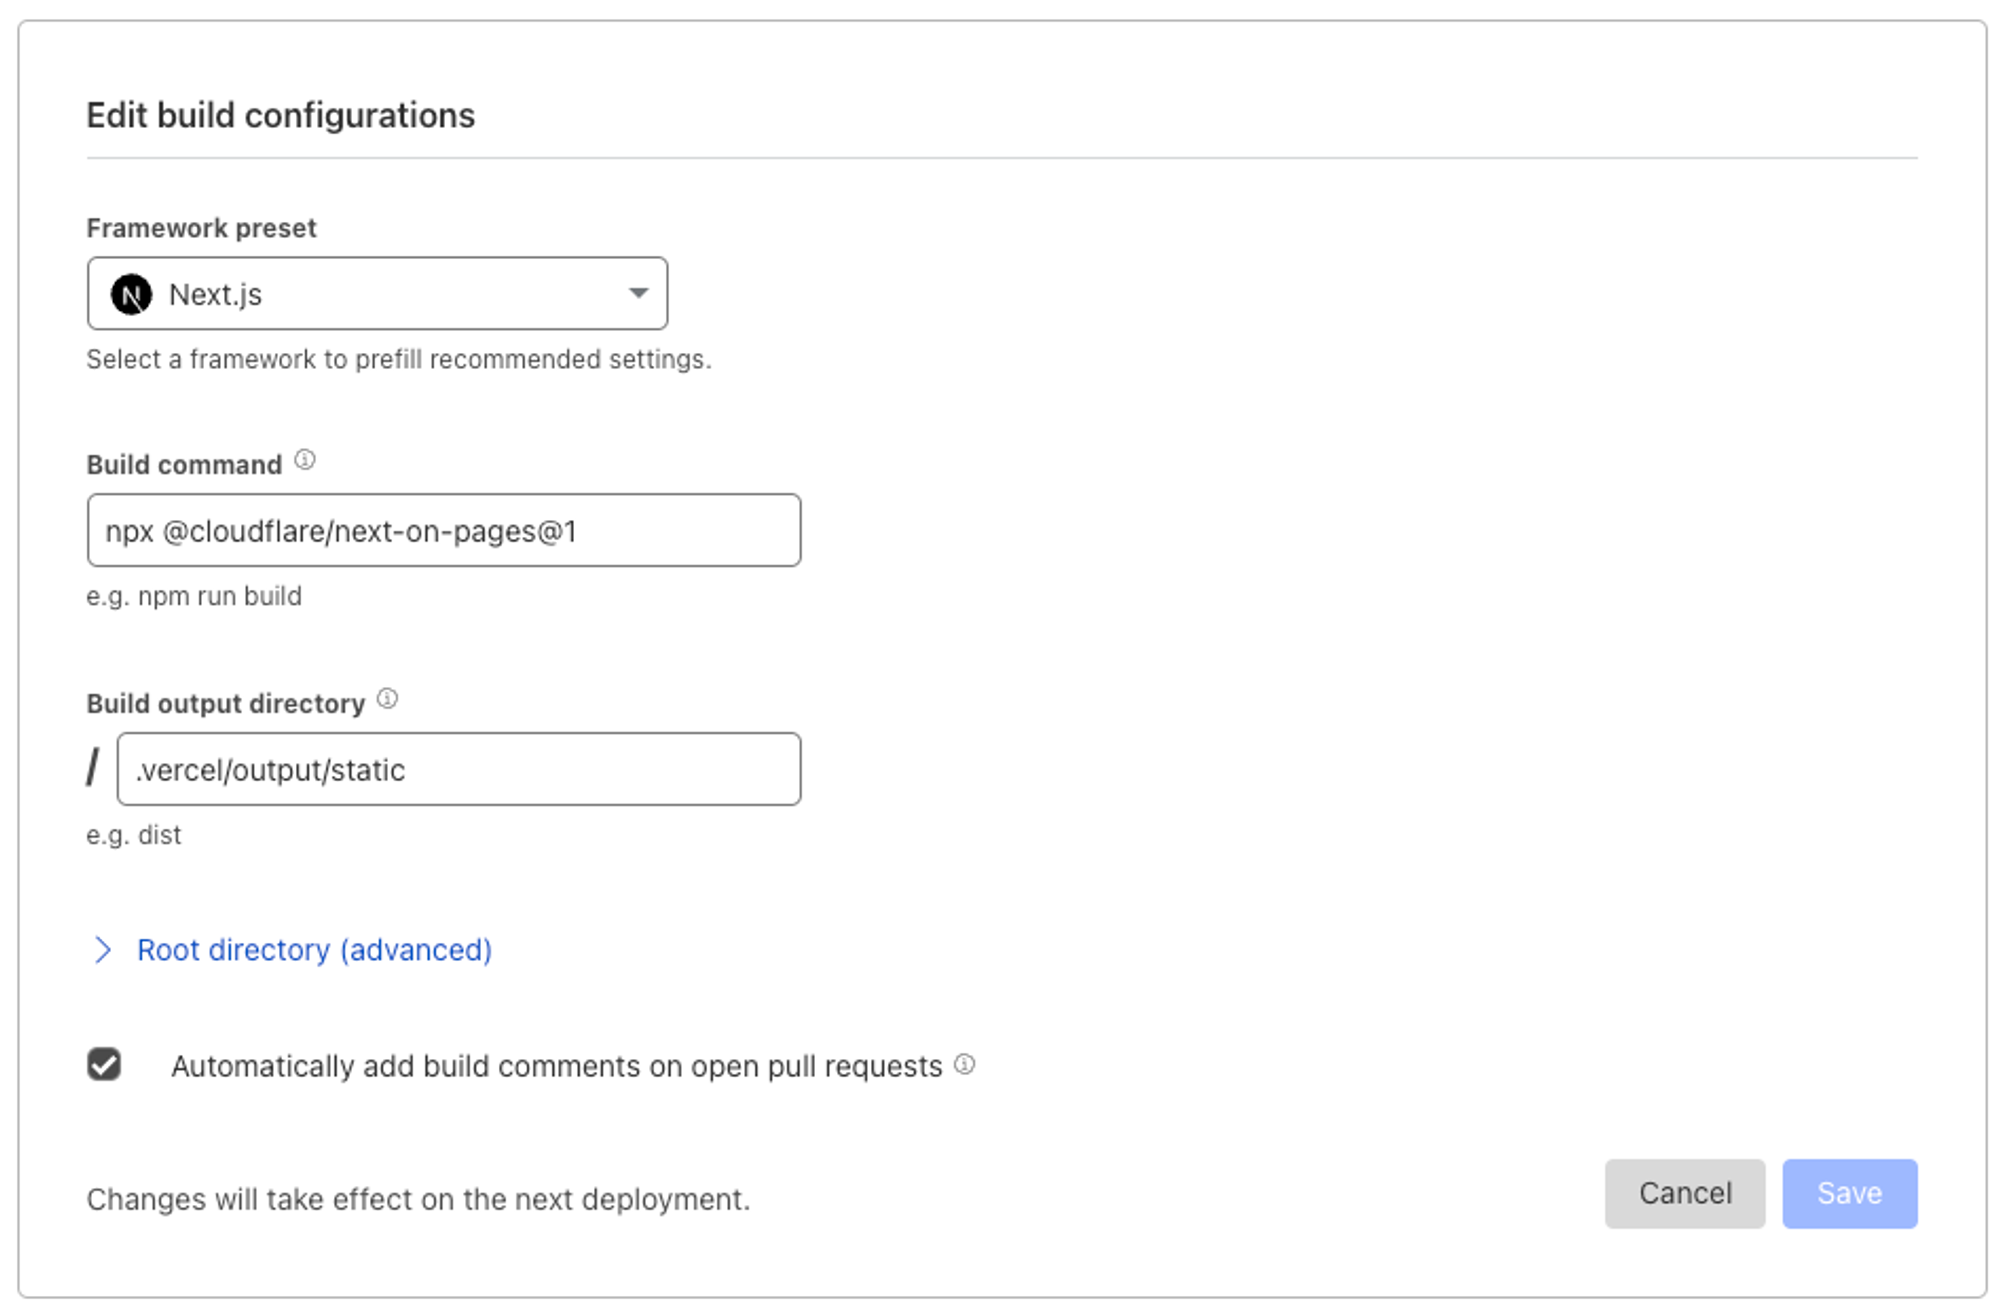
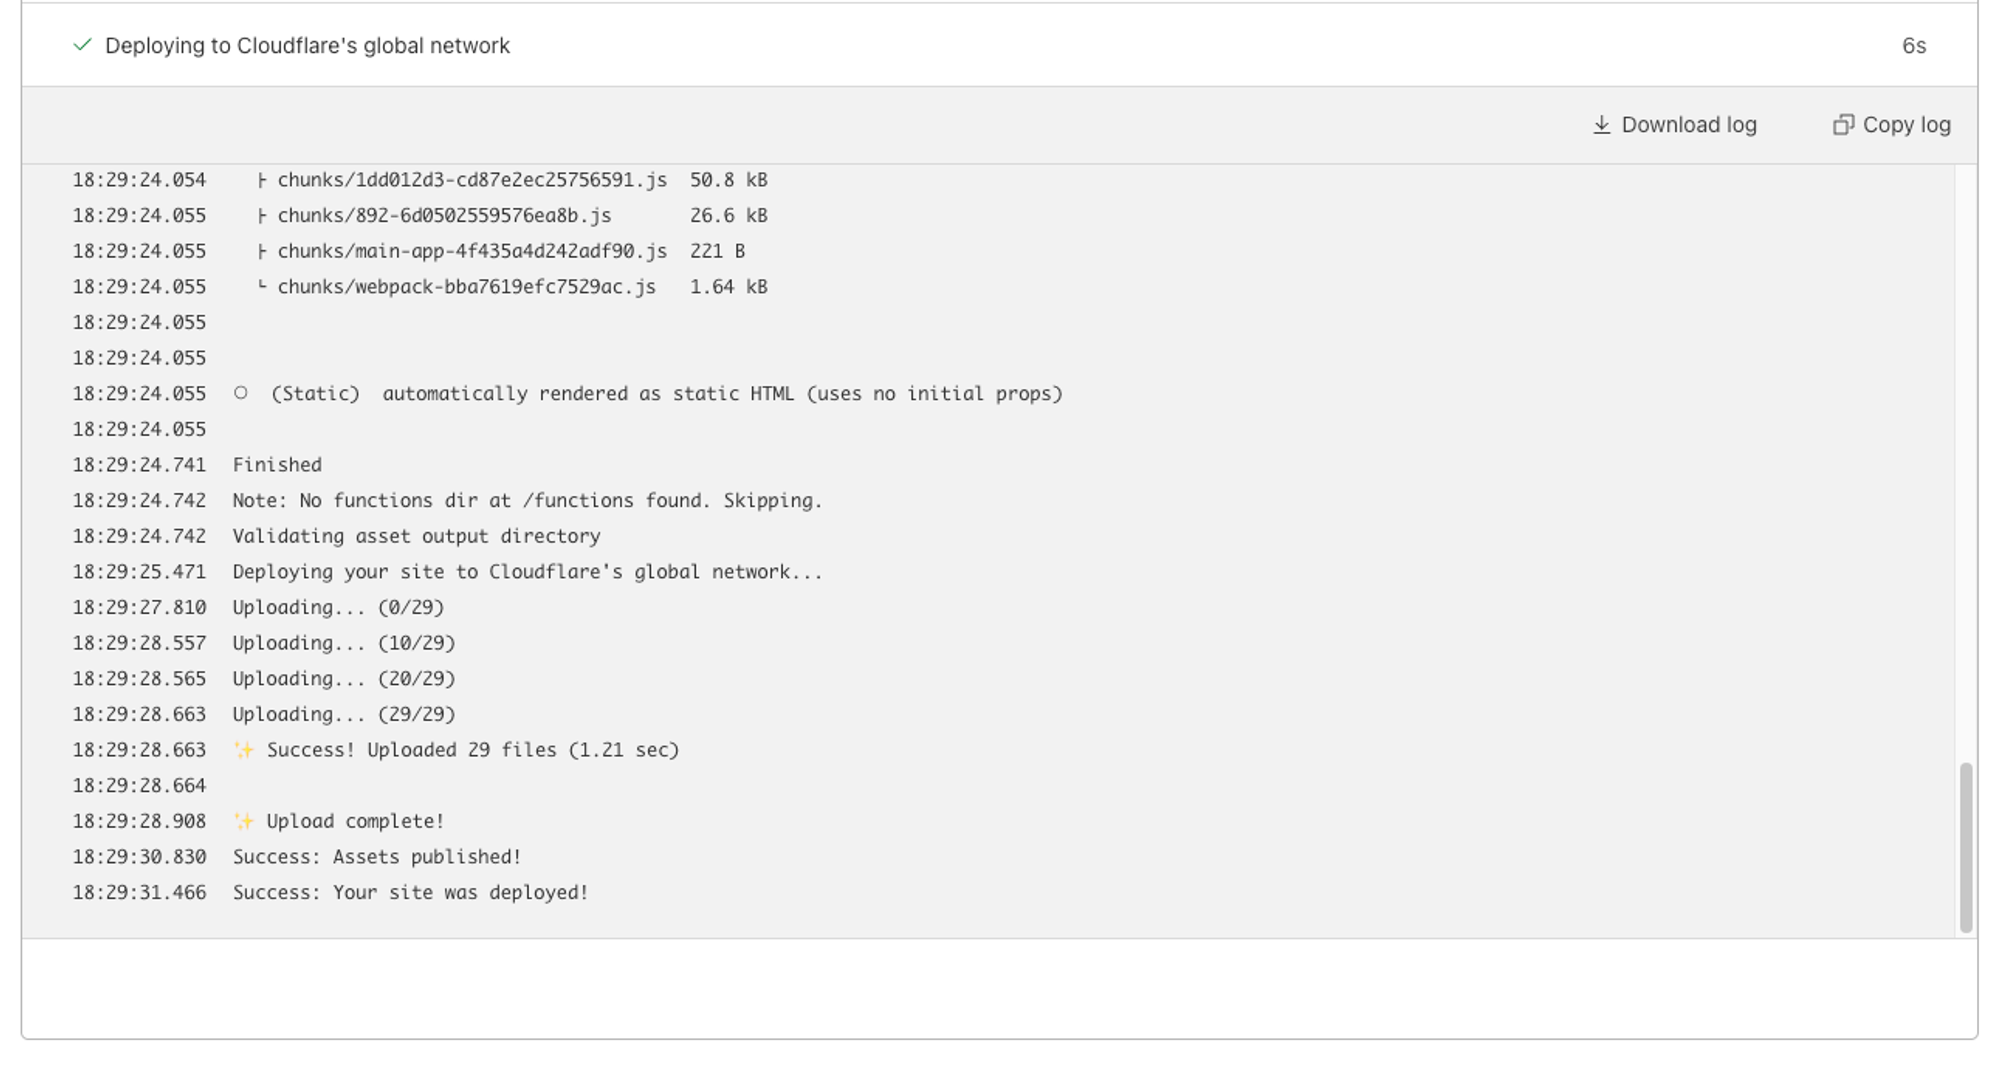
위와 같이 정보를 입려해주면 끝! 아래와 같이 배포가 성공적으로 됐음을 확인할 수 있다.
PWA 적용
우리 서비스는 사용자의 위치를 알고있어야 하며(GPS) 채팅 서비스다 보니 설치가 가능하면 좋을것 같아서 PWA 기술을 사용하기로 결정했다. 우선
next-pwa를 설치해준다.pnpm i next-pwa
그리고 next.config.js를 아래와 같이 수정한다.
const withPWA = require('next-pwa')

const nextConfig = withPWA({
  dest: 'public',
})

module.exports = nextConfig
필요한 favicon, icon은 src/app 하위에 넣어주었다.
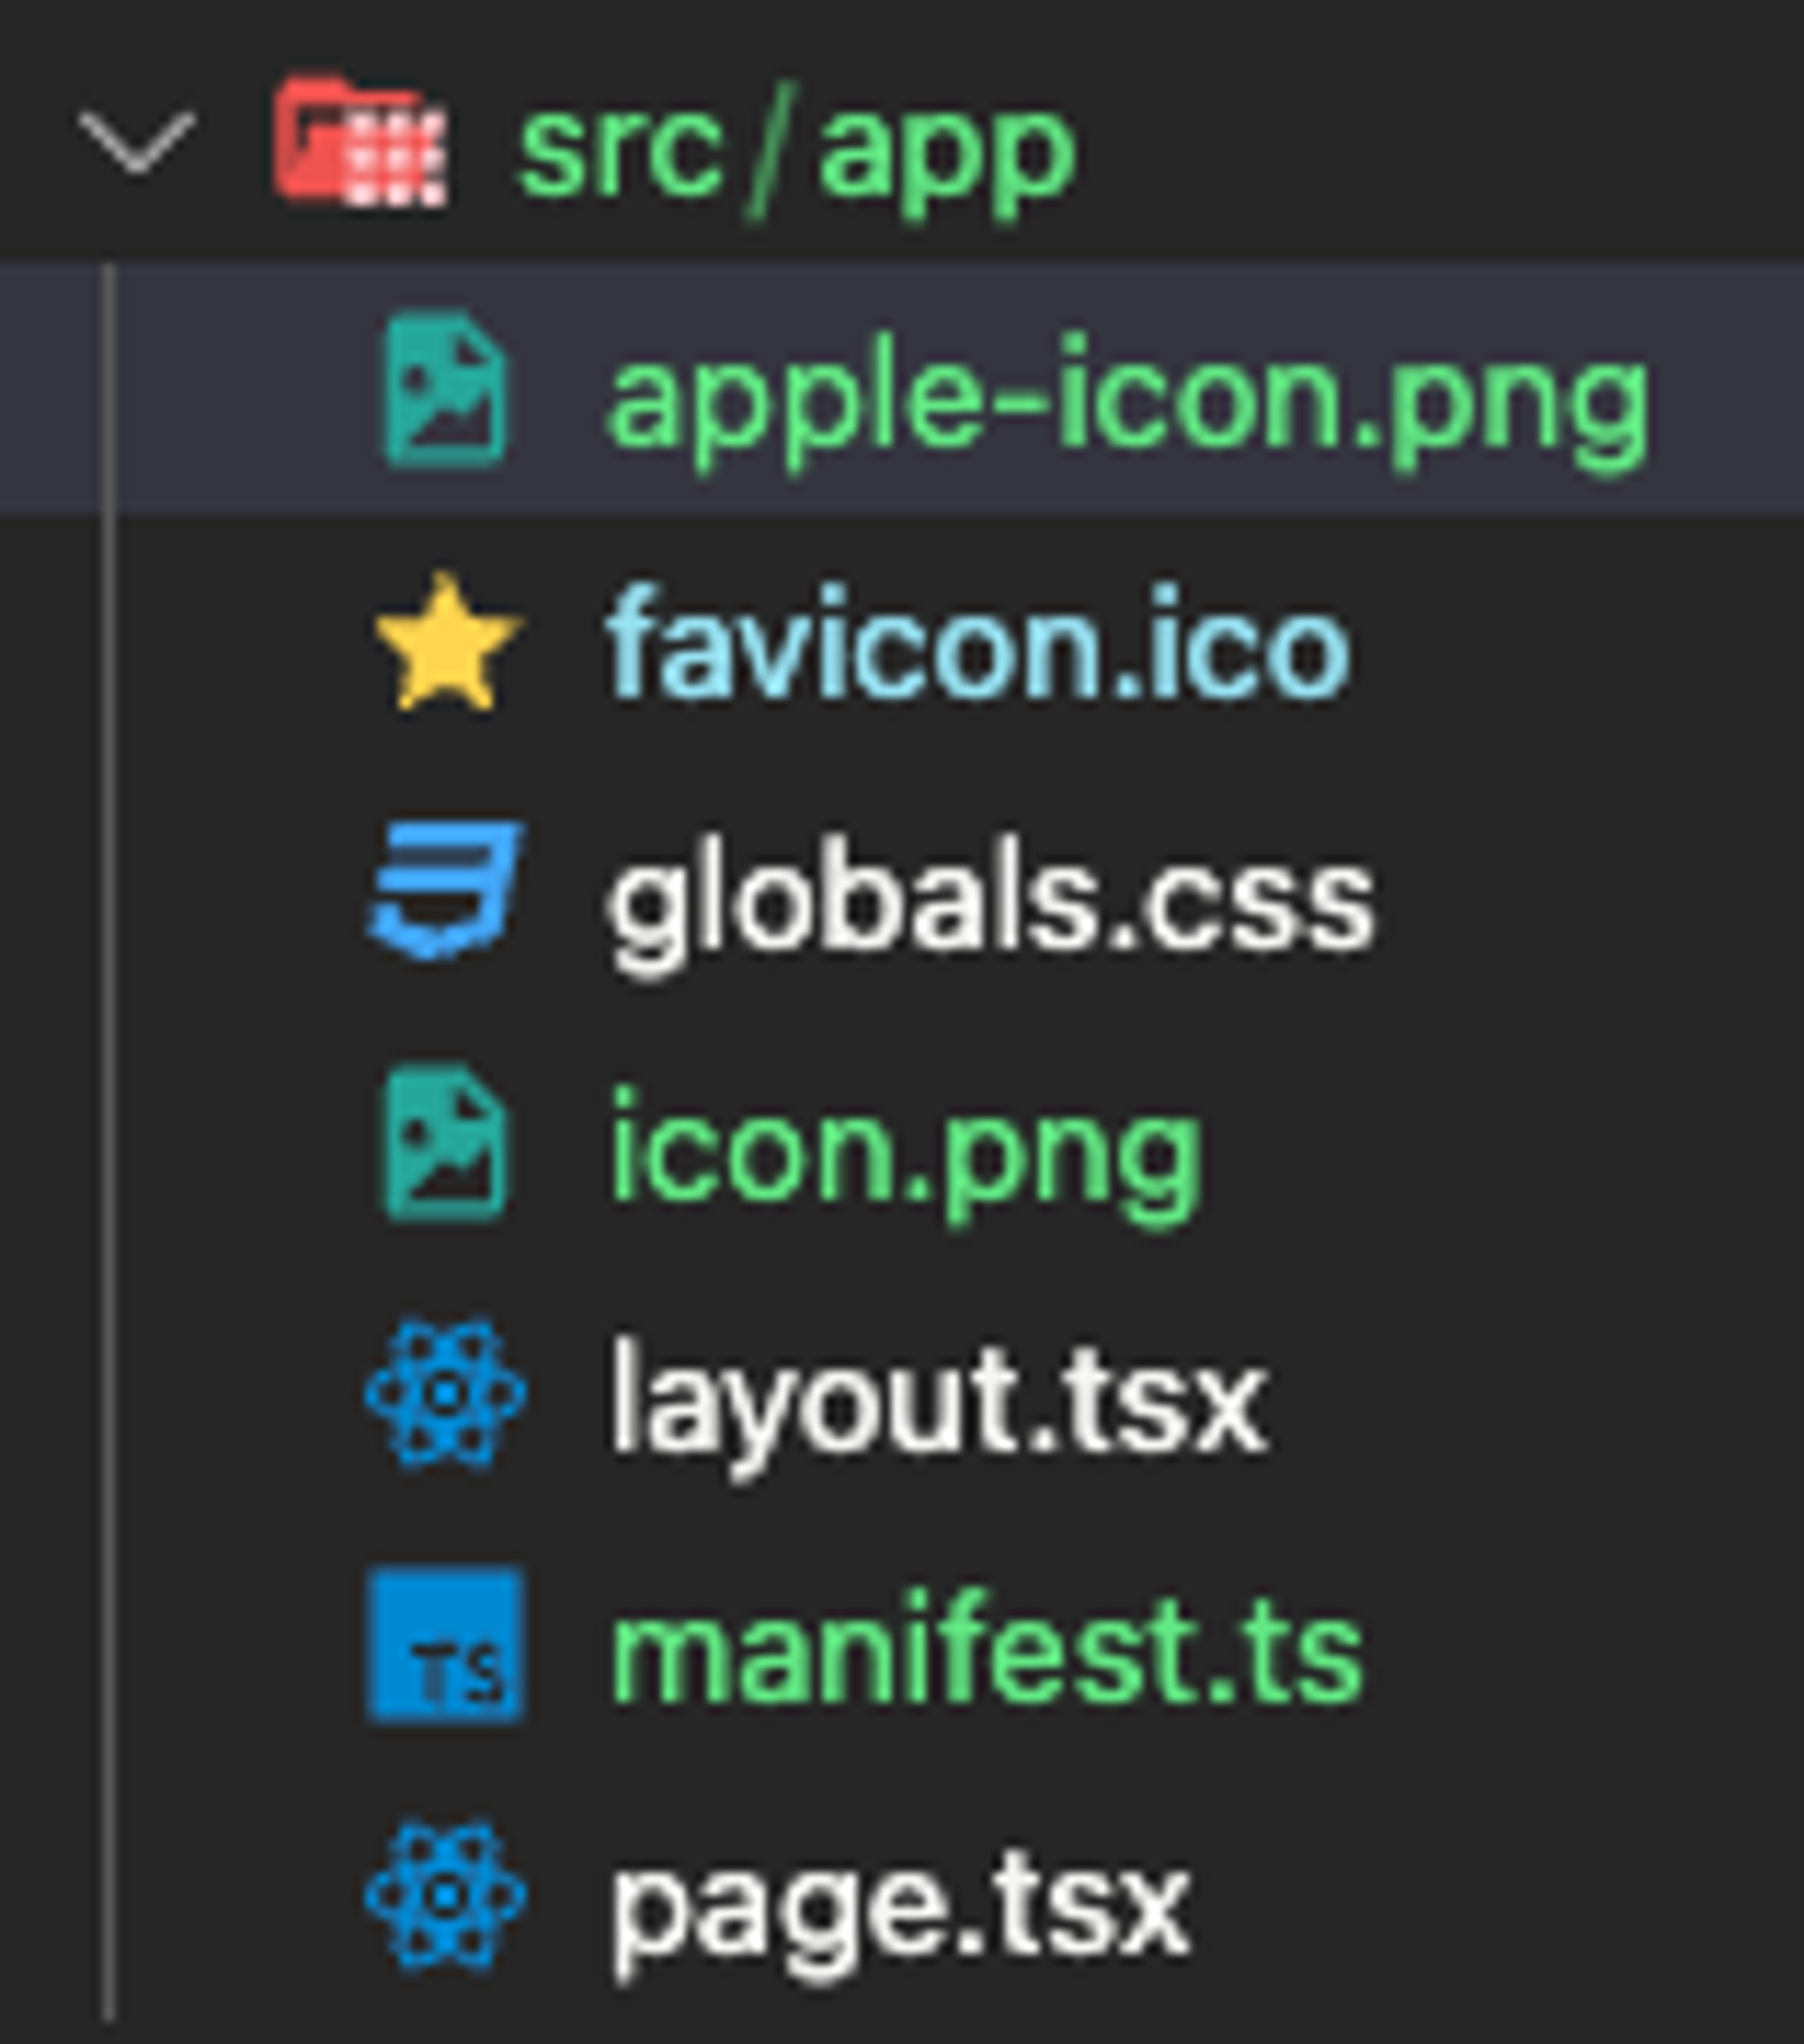
manifest.ts를 아래와 같이 작성해준다.
import { MetadataRoute } from 'next'

export default function manifest(): MetadataRoute.Manifest {
  return {
    name: 'ppingpong',
    short_name: 'ppingpong',
    description: 'ppingpong',
    start_url: '/',
    display: 'standalone',
    background_color: '#fff',
    theme_color: '#FD8D32',
    icons: [
      {
        src: '/icon.png',
        sizes: '512x512',
        type: 'image/png',
        purpose: "maskable"
      },
      {
        src: '/apple-icon.png',
        sizes: '512x512',
        type: 'image/png',
      }
    ],
  }
}
gitignore에 아래와 같은 코드를 추가해주었다.public/sw* public/workbox-*
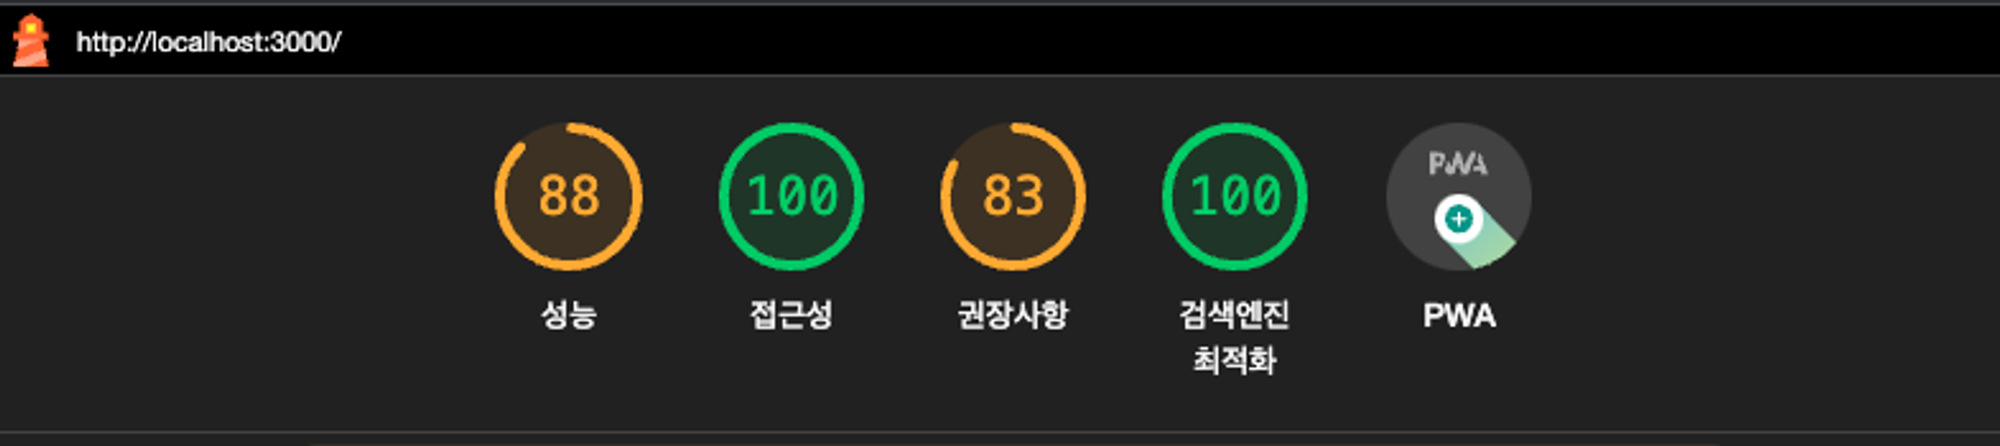
PWA가 제대로 설치되었다면 lighthouse 검사를 통해 아래와 같이 PWA에 초록색이 띄는걸 확인할 수 있다!
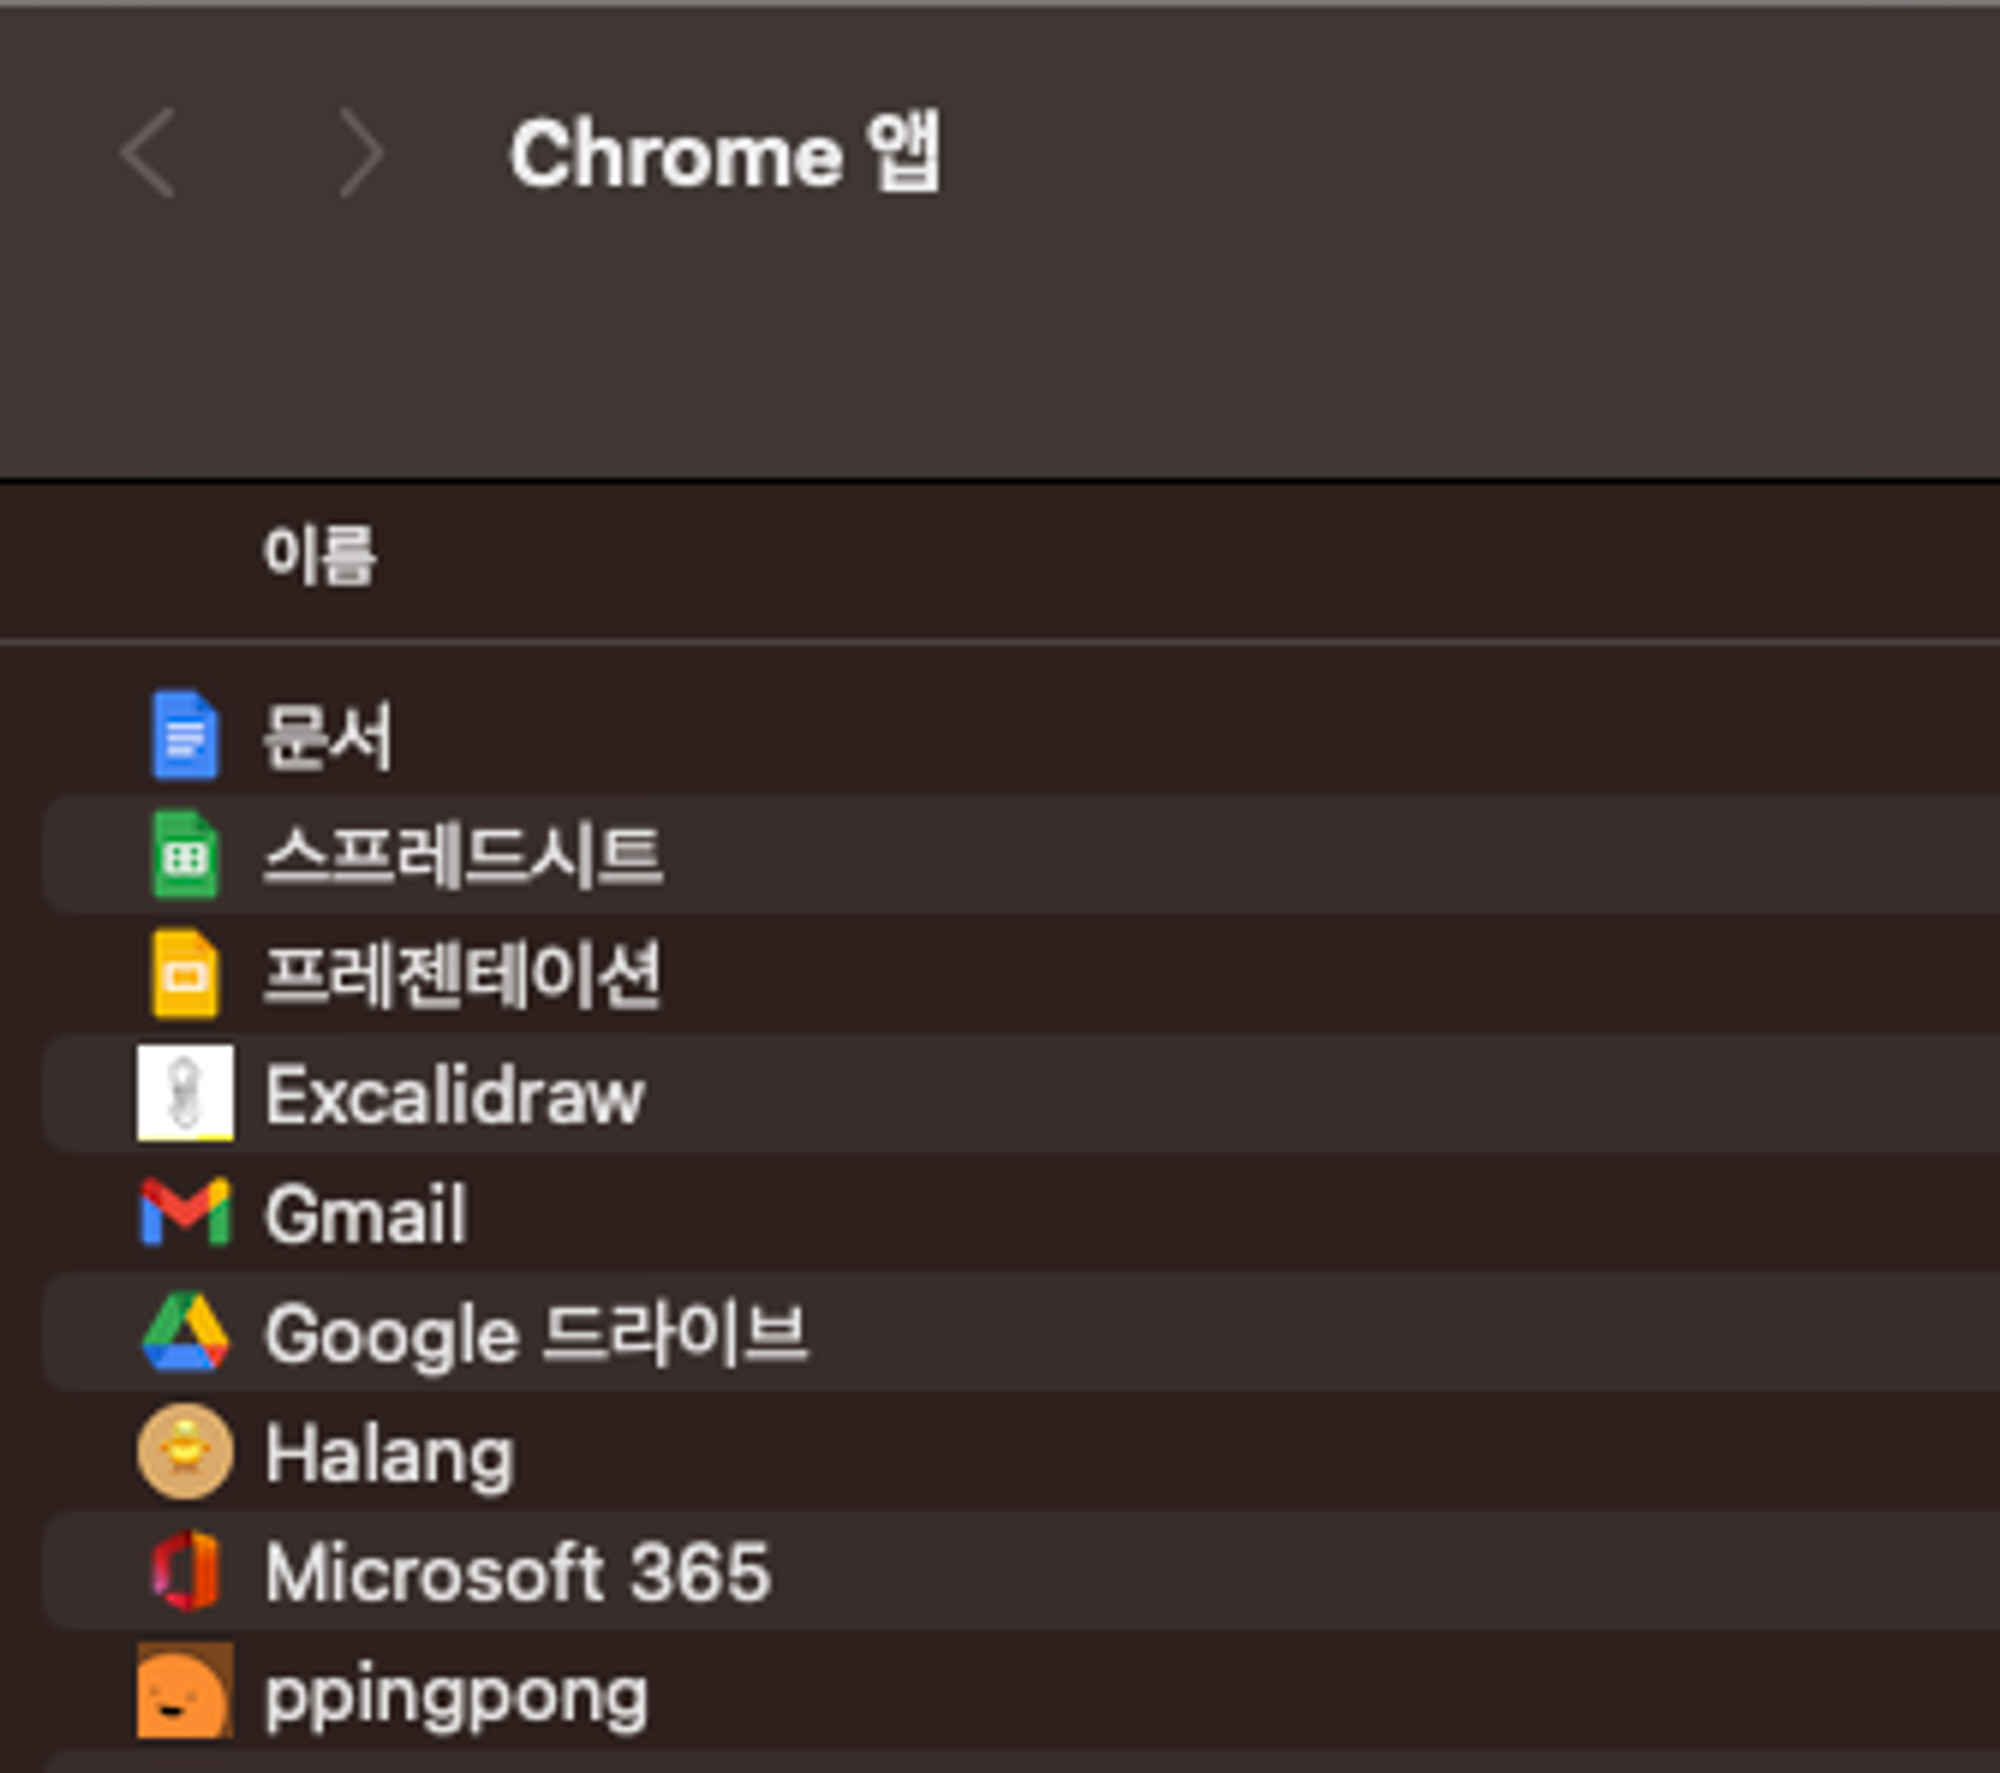
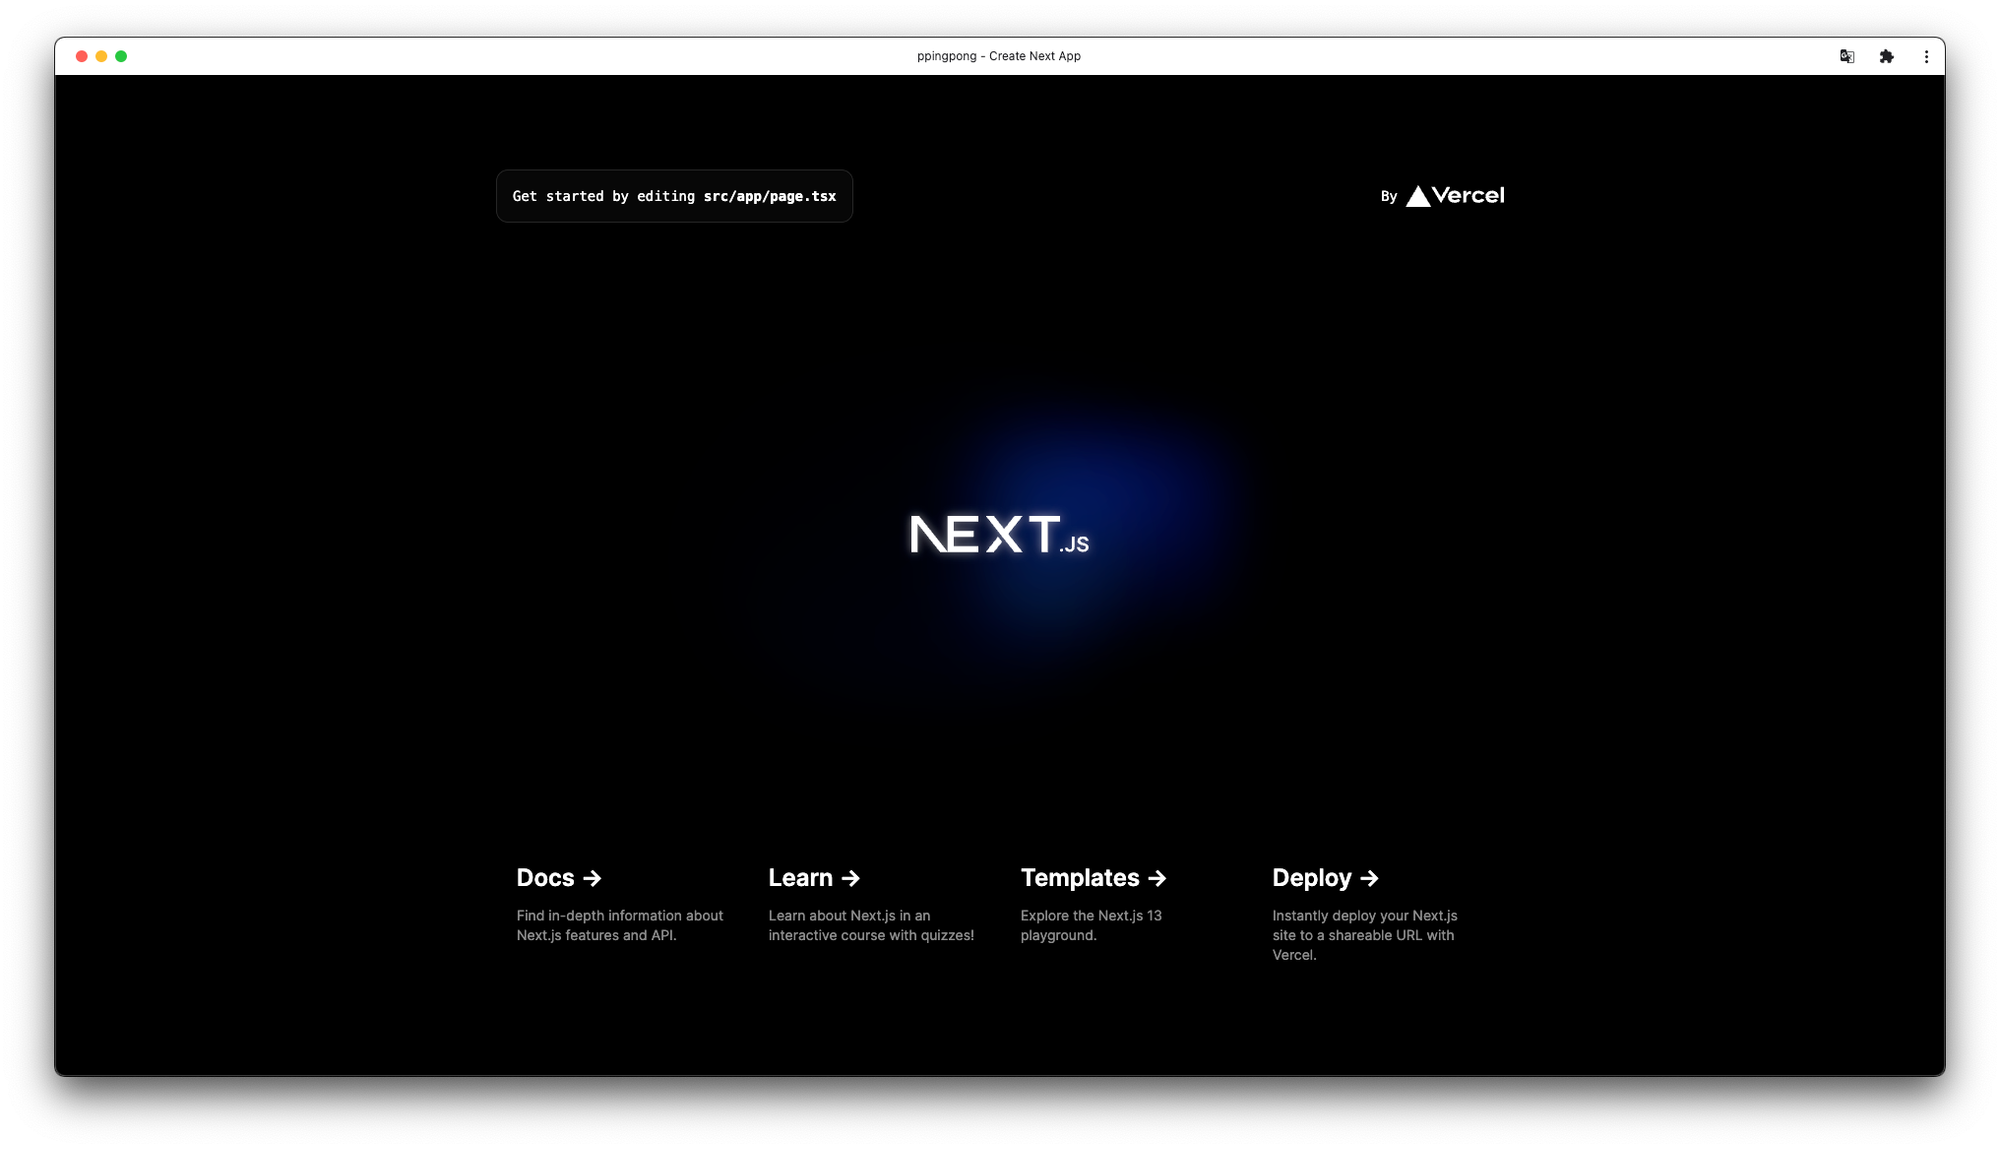
또한 앱을 설치하면 위 사진처럼 크롬앱에서도 확인이 가능하다.
참고자료


Prettier
tailwind class 이름을 자동 정렬해주는
prettier-plugin-tailwindcss를 설치한다.pnpm i -D prettier prettier-plugin-tailwindcss
prettier-plugin-tailwindcss
tailwindlabs • Updated Jan 7, 2024
import 순서를 설정할 수 있는
@trivago/prettier-plugin-sort-imports를 설치한다. pnpm add --save-dev @trivago/prettier-plugin-sort-imports
import 순서는 커스텀할 수 있으며 나는 아래와 같은 순서로 설정해주었다.
"importOrder": [
    "^(react|next/(.*)$)|^(react|next$)", // react나 next로 시작하는 것
    "<THIRD_PARTY_MODULES>", // 외부 라이브러리
    "^@/(.*)$", // 내부 모듈
    "^[./]"
],
prettier-plugin-sort-imports
trivago • Updated Jan 7, 2024
추가)
static으로 배포하는게 아니라 그냥 Next.js로 배포하면 아래와 같은 에러가 발생했다.
Error: Could not access built-in Node.js modules. Please make sure that your Cloudflare Pages project has the 'nodejs_compat' compatibility flag set.

이를 해결하기 위해 Setting 페이지에 있는 Compatibility Flags 섹션쪽에 추가 설정을 해줘야 한다. (Settings > Functions > Compatibility Flags)
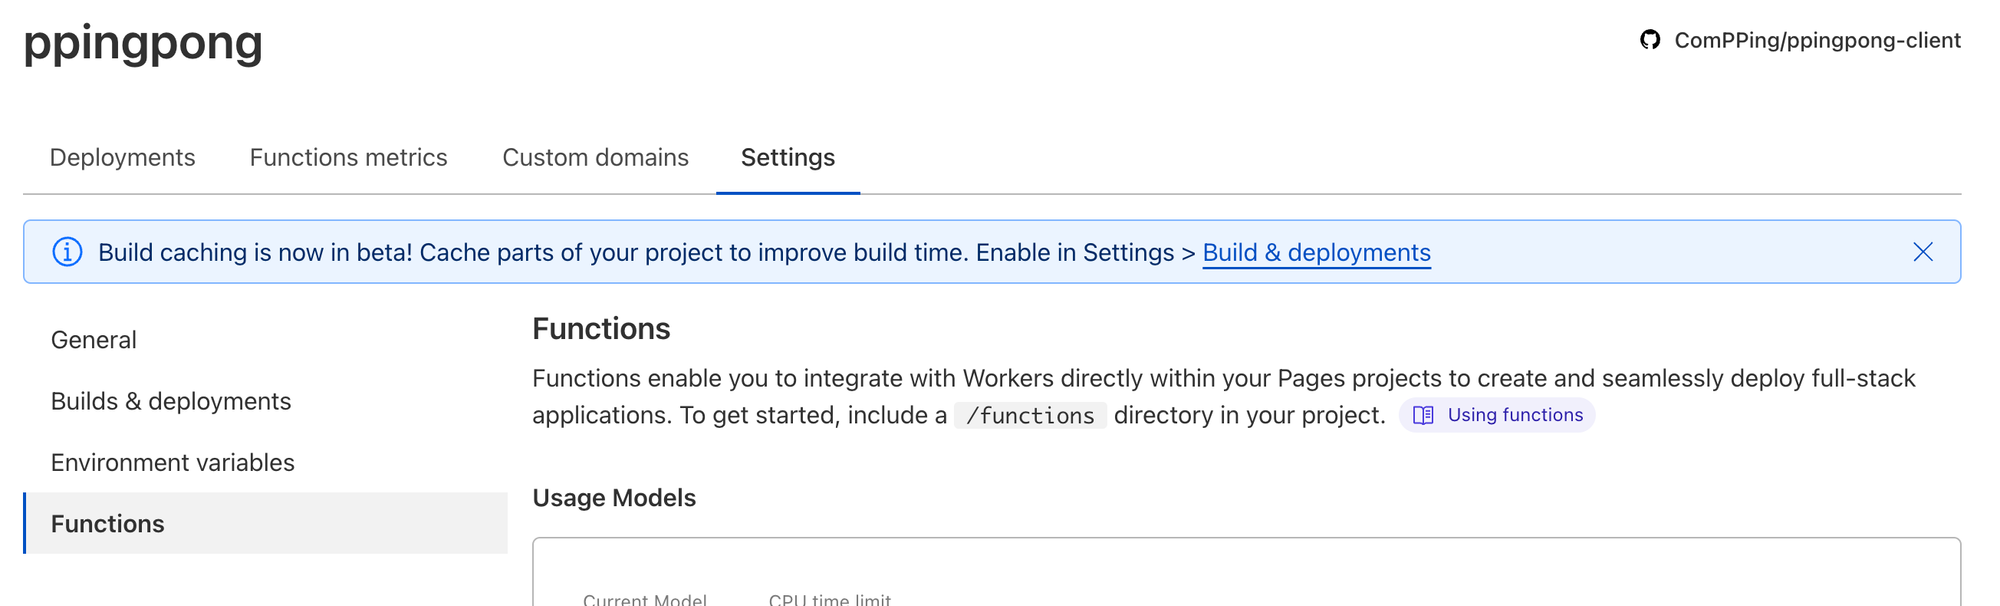
아래와 같이 Production compatibility flags와 Preview compatibility flags에
nodejs_compat 를 추가해준다.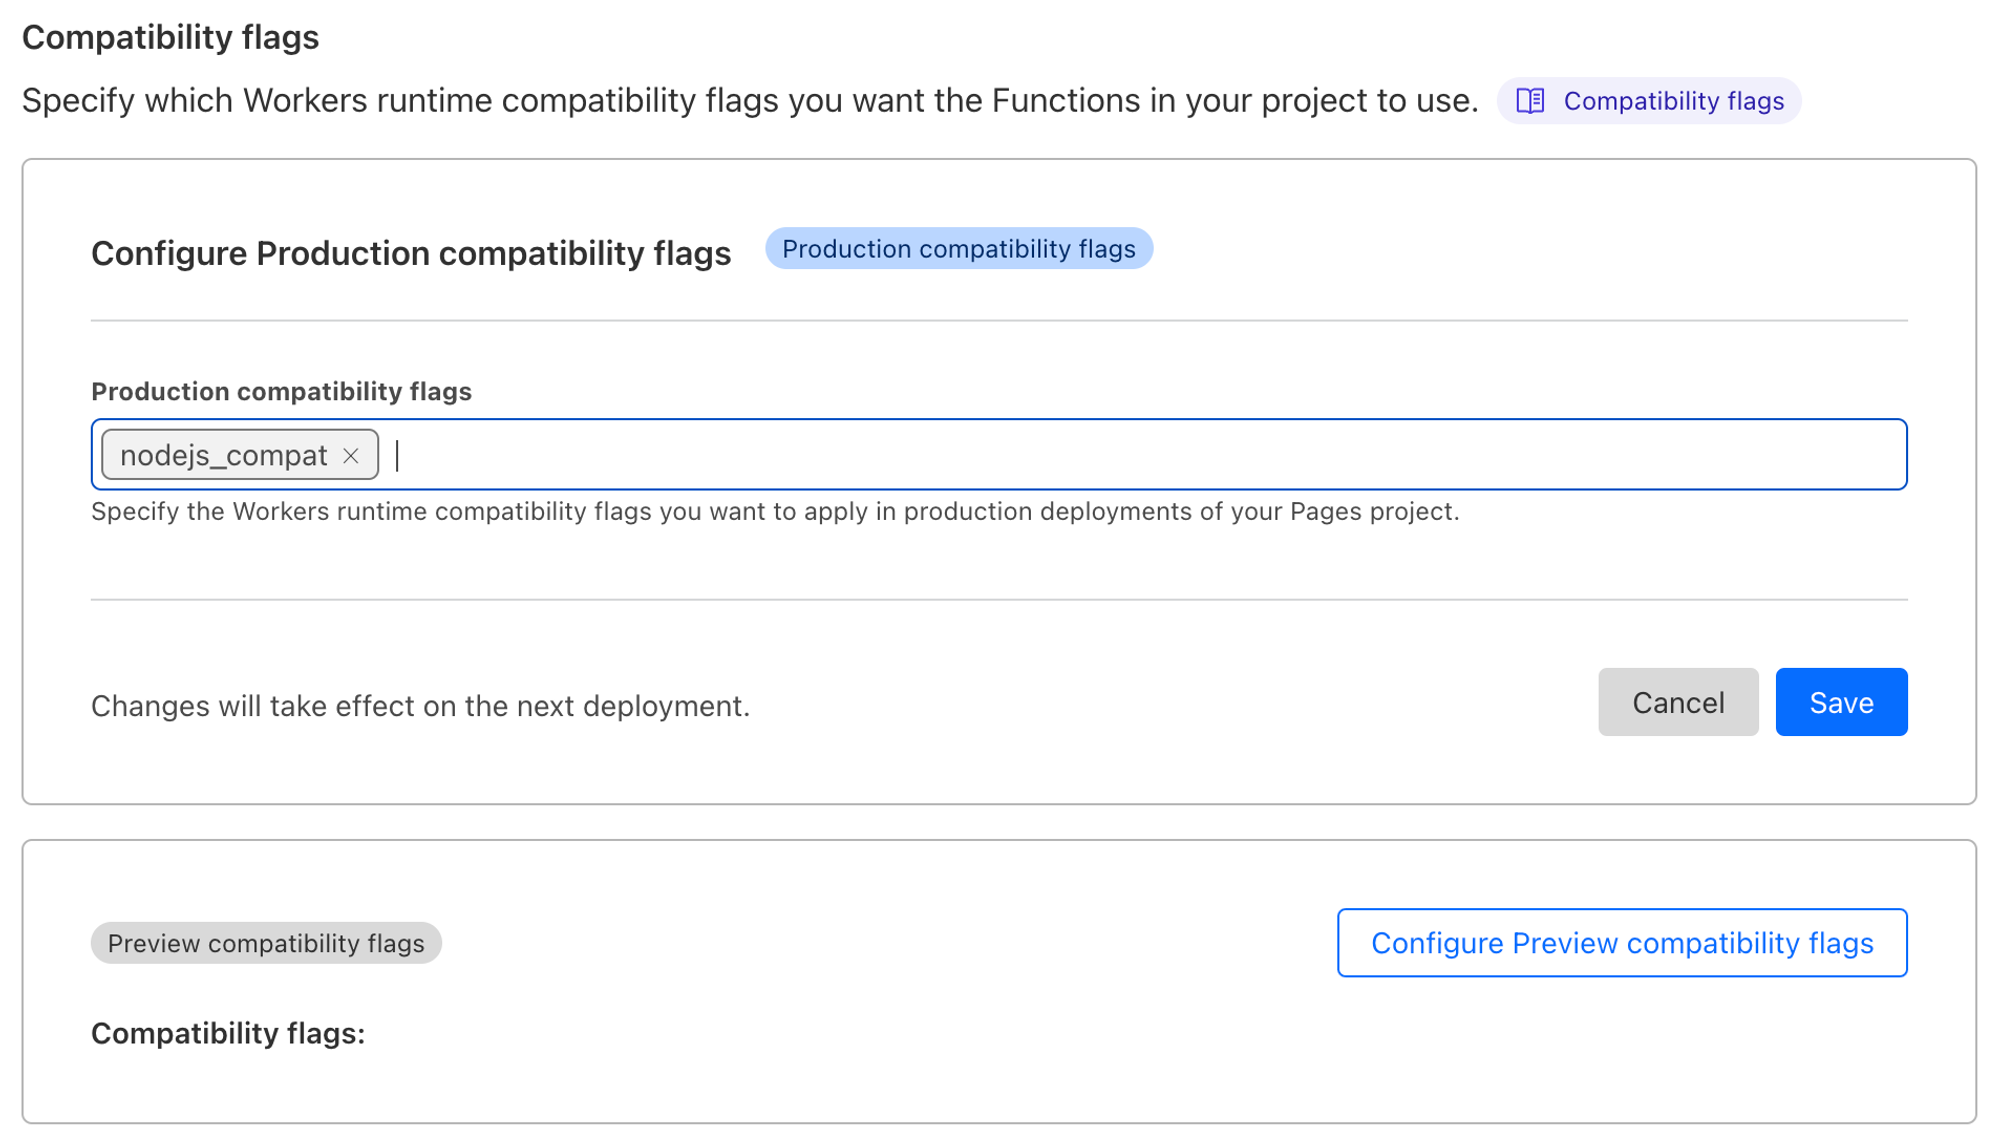
참고자료
og 태그 적용 이슈(?)
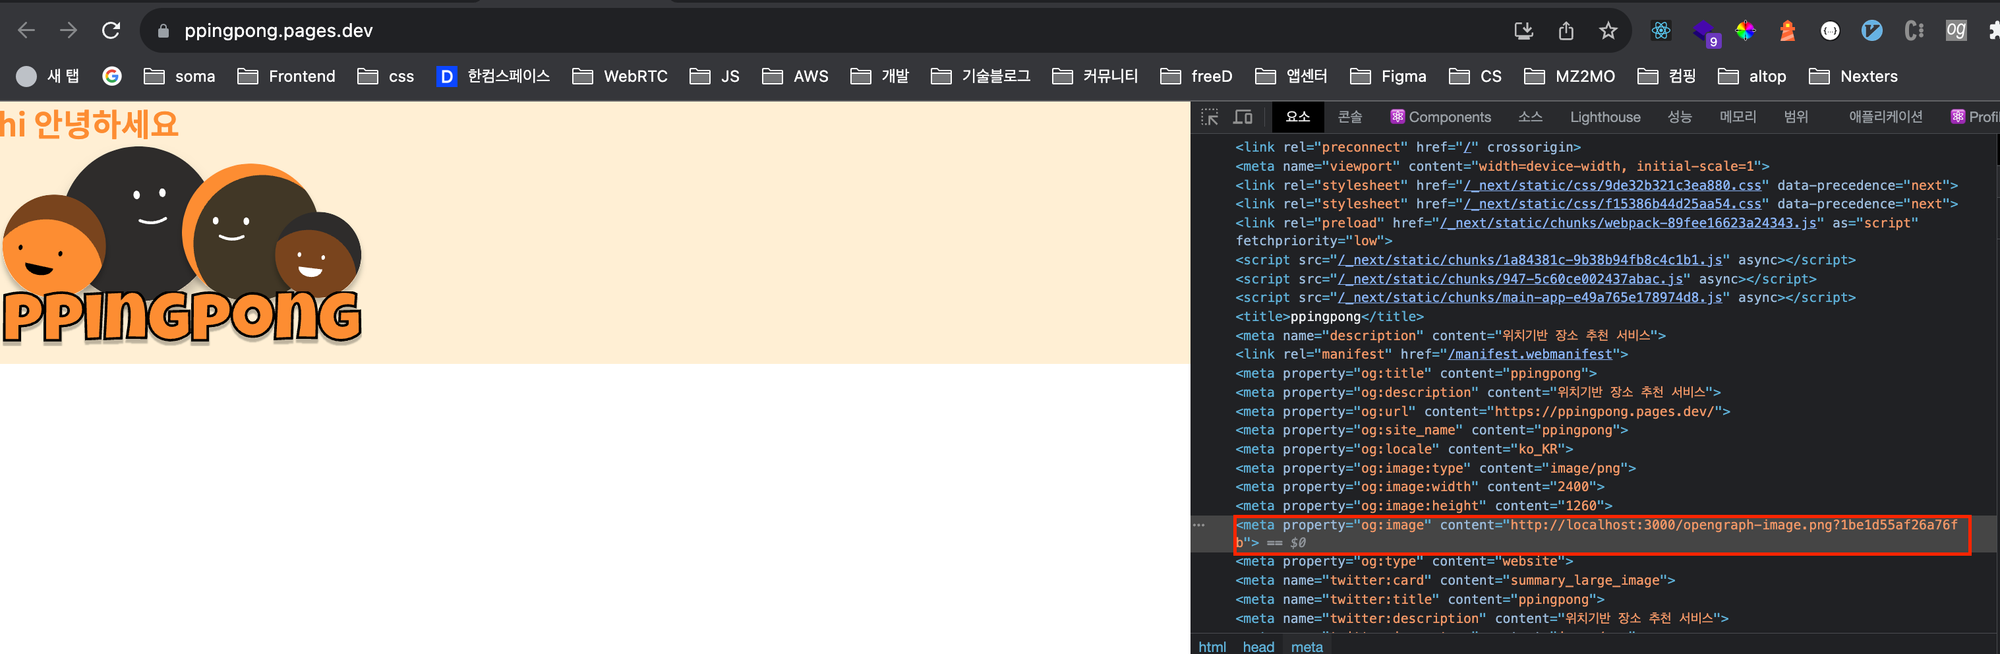
우선 og 태그 적용 방법은 공식 문서에 나온대로
opengraph-image.png와 twitter-image.png를 app 디렉터리 내에 두었다. 하지만 vercel로 배포하면 잘 적용되지만 cloudflare는 제대로 적용이 안되는듯 하다… 아무래도 vercel과 호환성이 가장 좋아서 그런가 싶기도 하고.. (vercel에서 만든 next니까?) cloudflare로 배포한건 og:image url이 localhost로 되어있다.
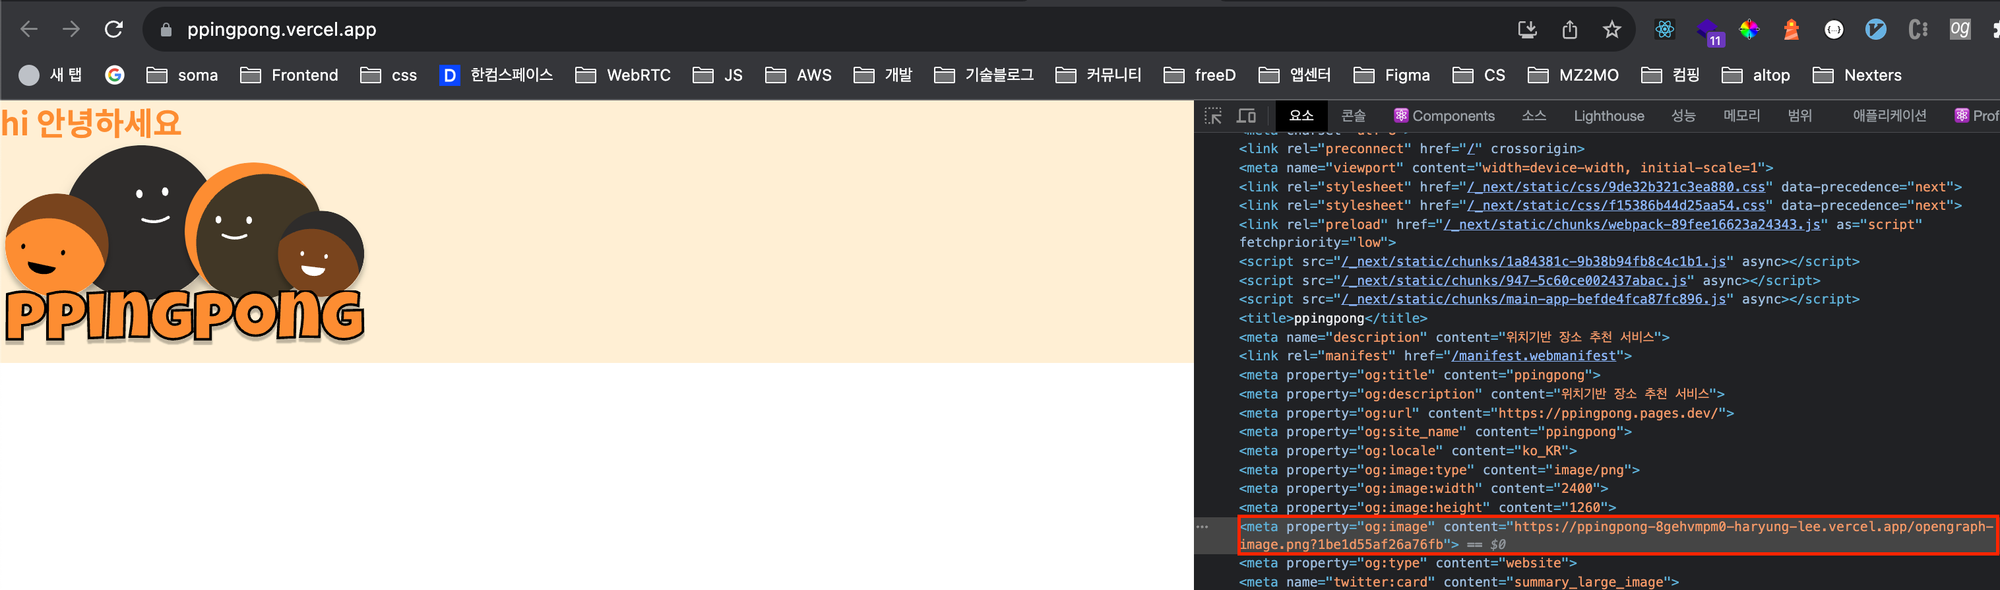
vercel로 배포한건 og:image url이 잘 적용된 듯 하다.
metadata에 아래와 같이
metadataBase를 추가해 주니 해결됐다.export const metadata: Metadata = { ... metadataBase: new URL('https://ppingpong.pages.dev/'), ... };